SimpleNext.js
How to use PostgreSQL database in Next.js apps
PostgreSQL is the database of choice for robust, entreprise-grade and free relational databases, which makes it perfect for large web apps. We will see in this article how to seamlessly use PostgreSQL in our Next.js app.
Step 1 : Install PostgreSQL
The installation of PostgreSQL locally depends on your OS , in our case for macOS we will insall it by using the interactive installer by EDB that you can find here .
Step 2 : Create your Schema and tables
The example app we will make will consist on a text editor in which we create a post and store it in our database. It will be the same as the example we made for MySQL .
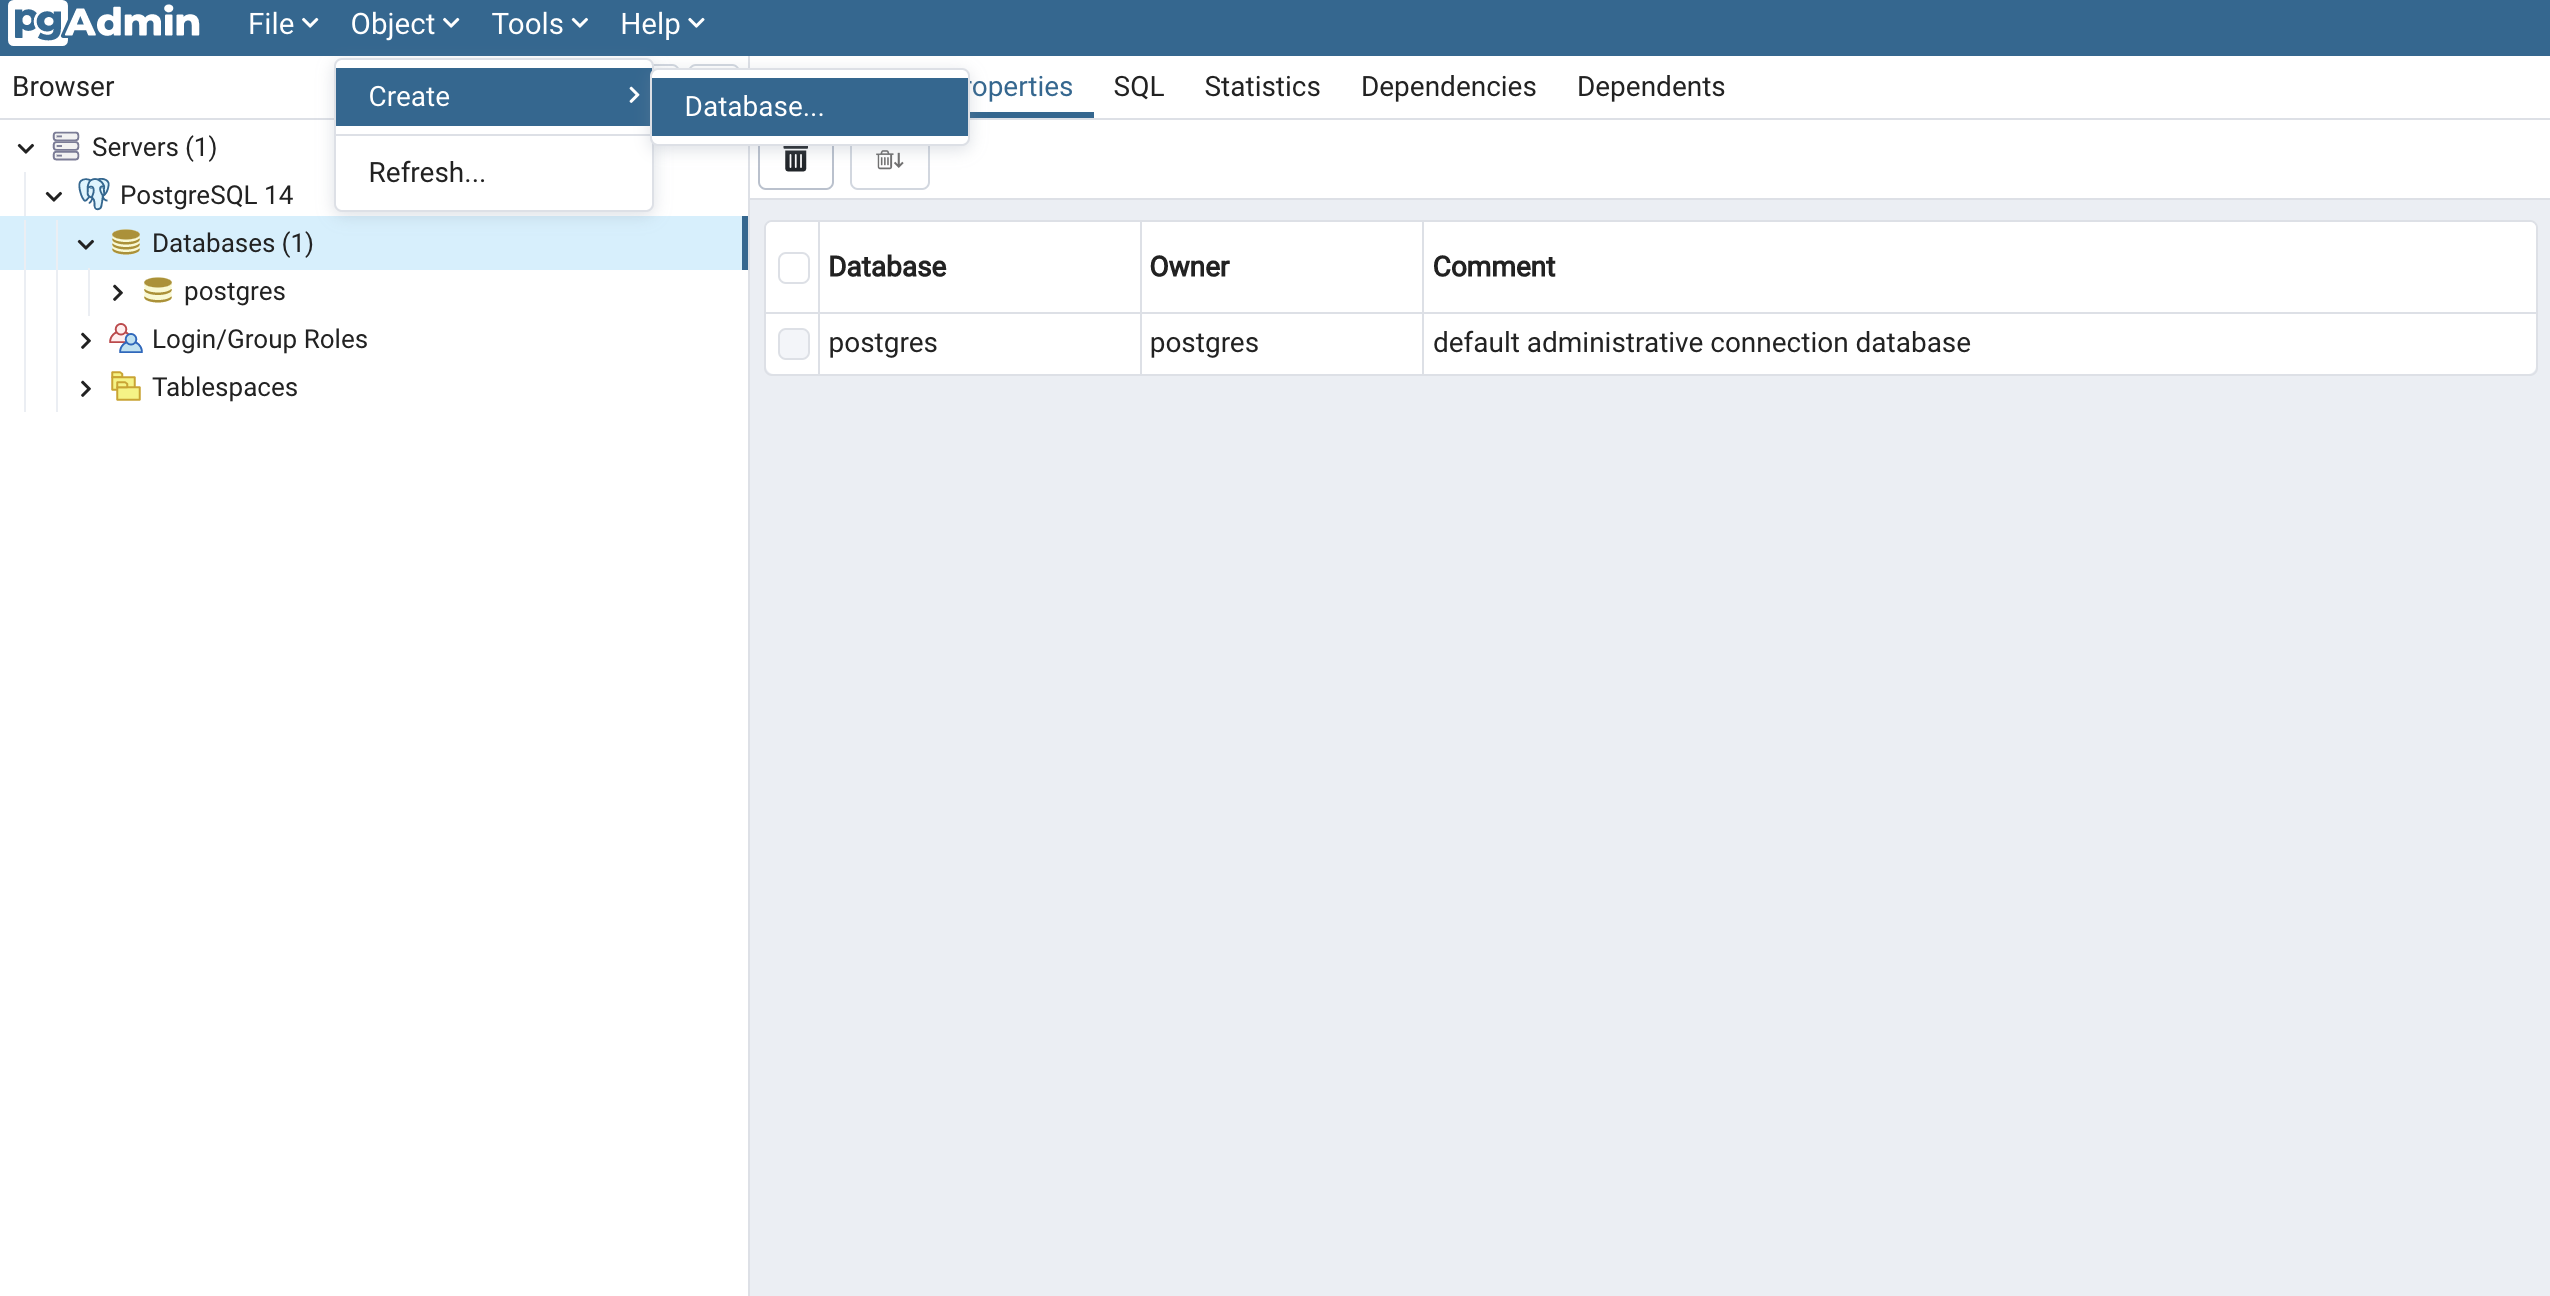
You need to create the schema that will host your tables. In our case we will create a schema called posts using pgAdmin4 ( you can use whatever tool or way you like)
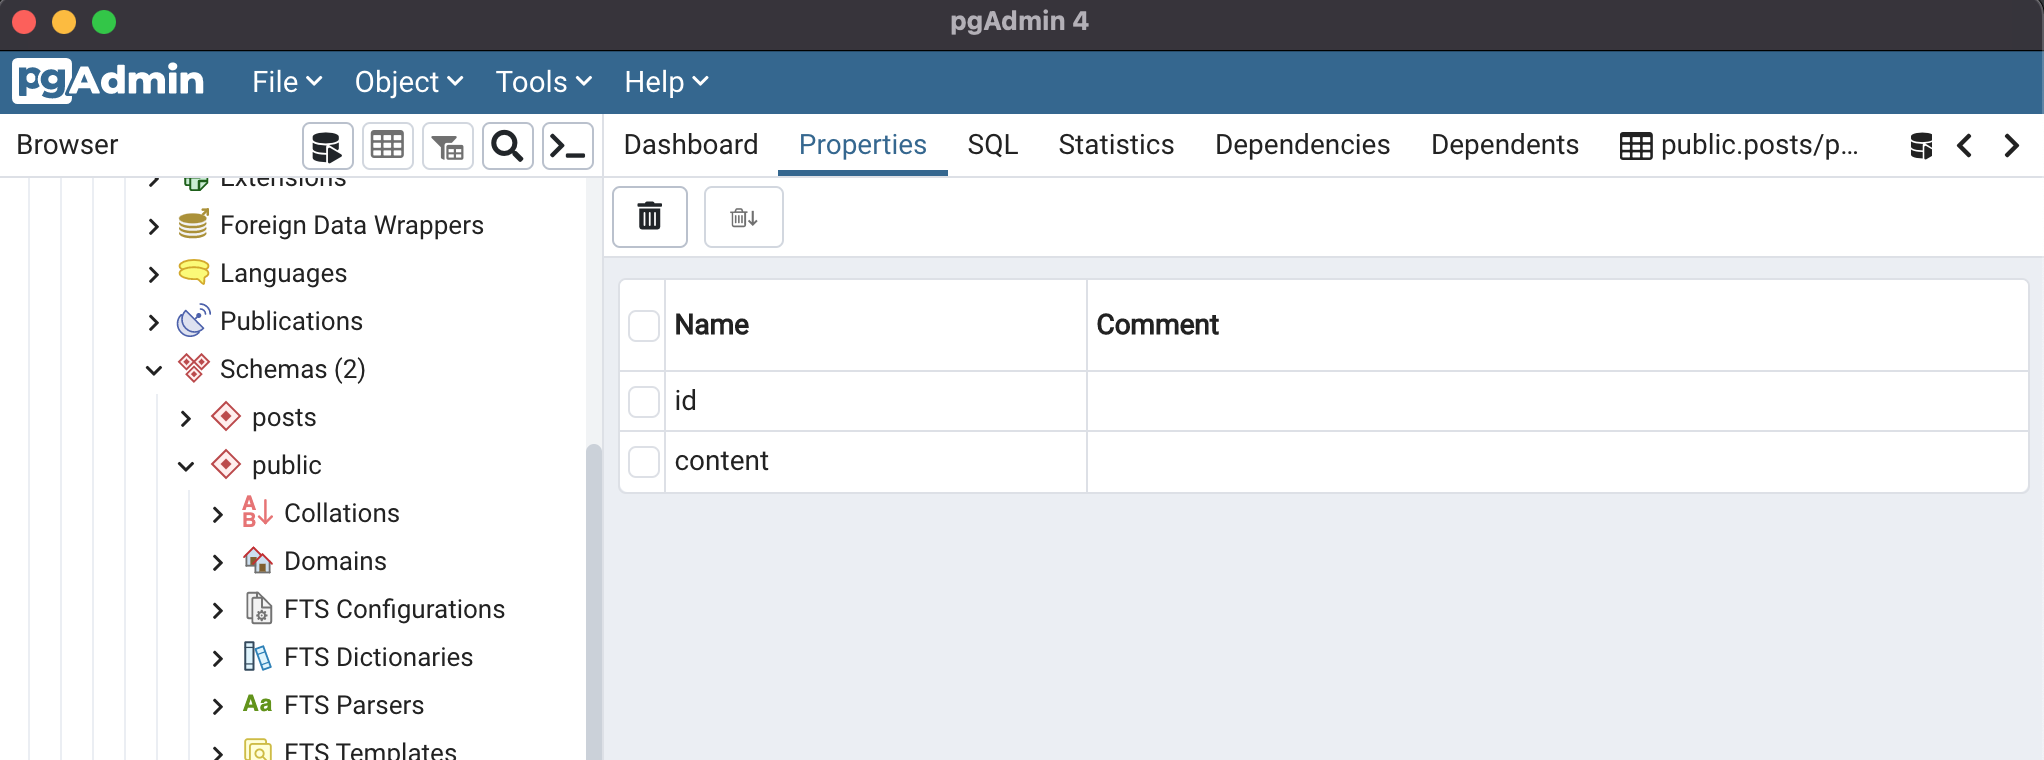
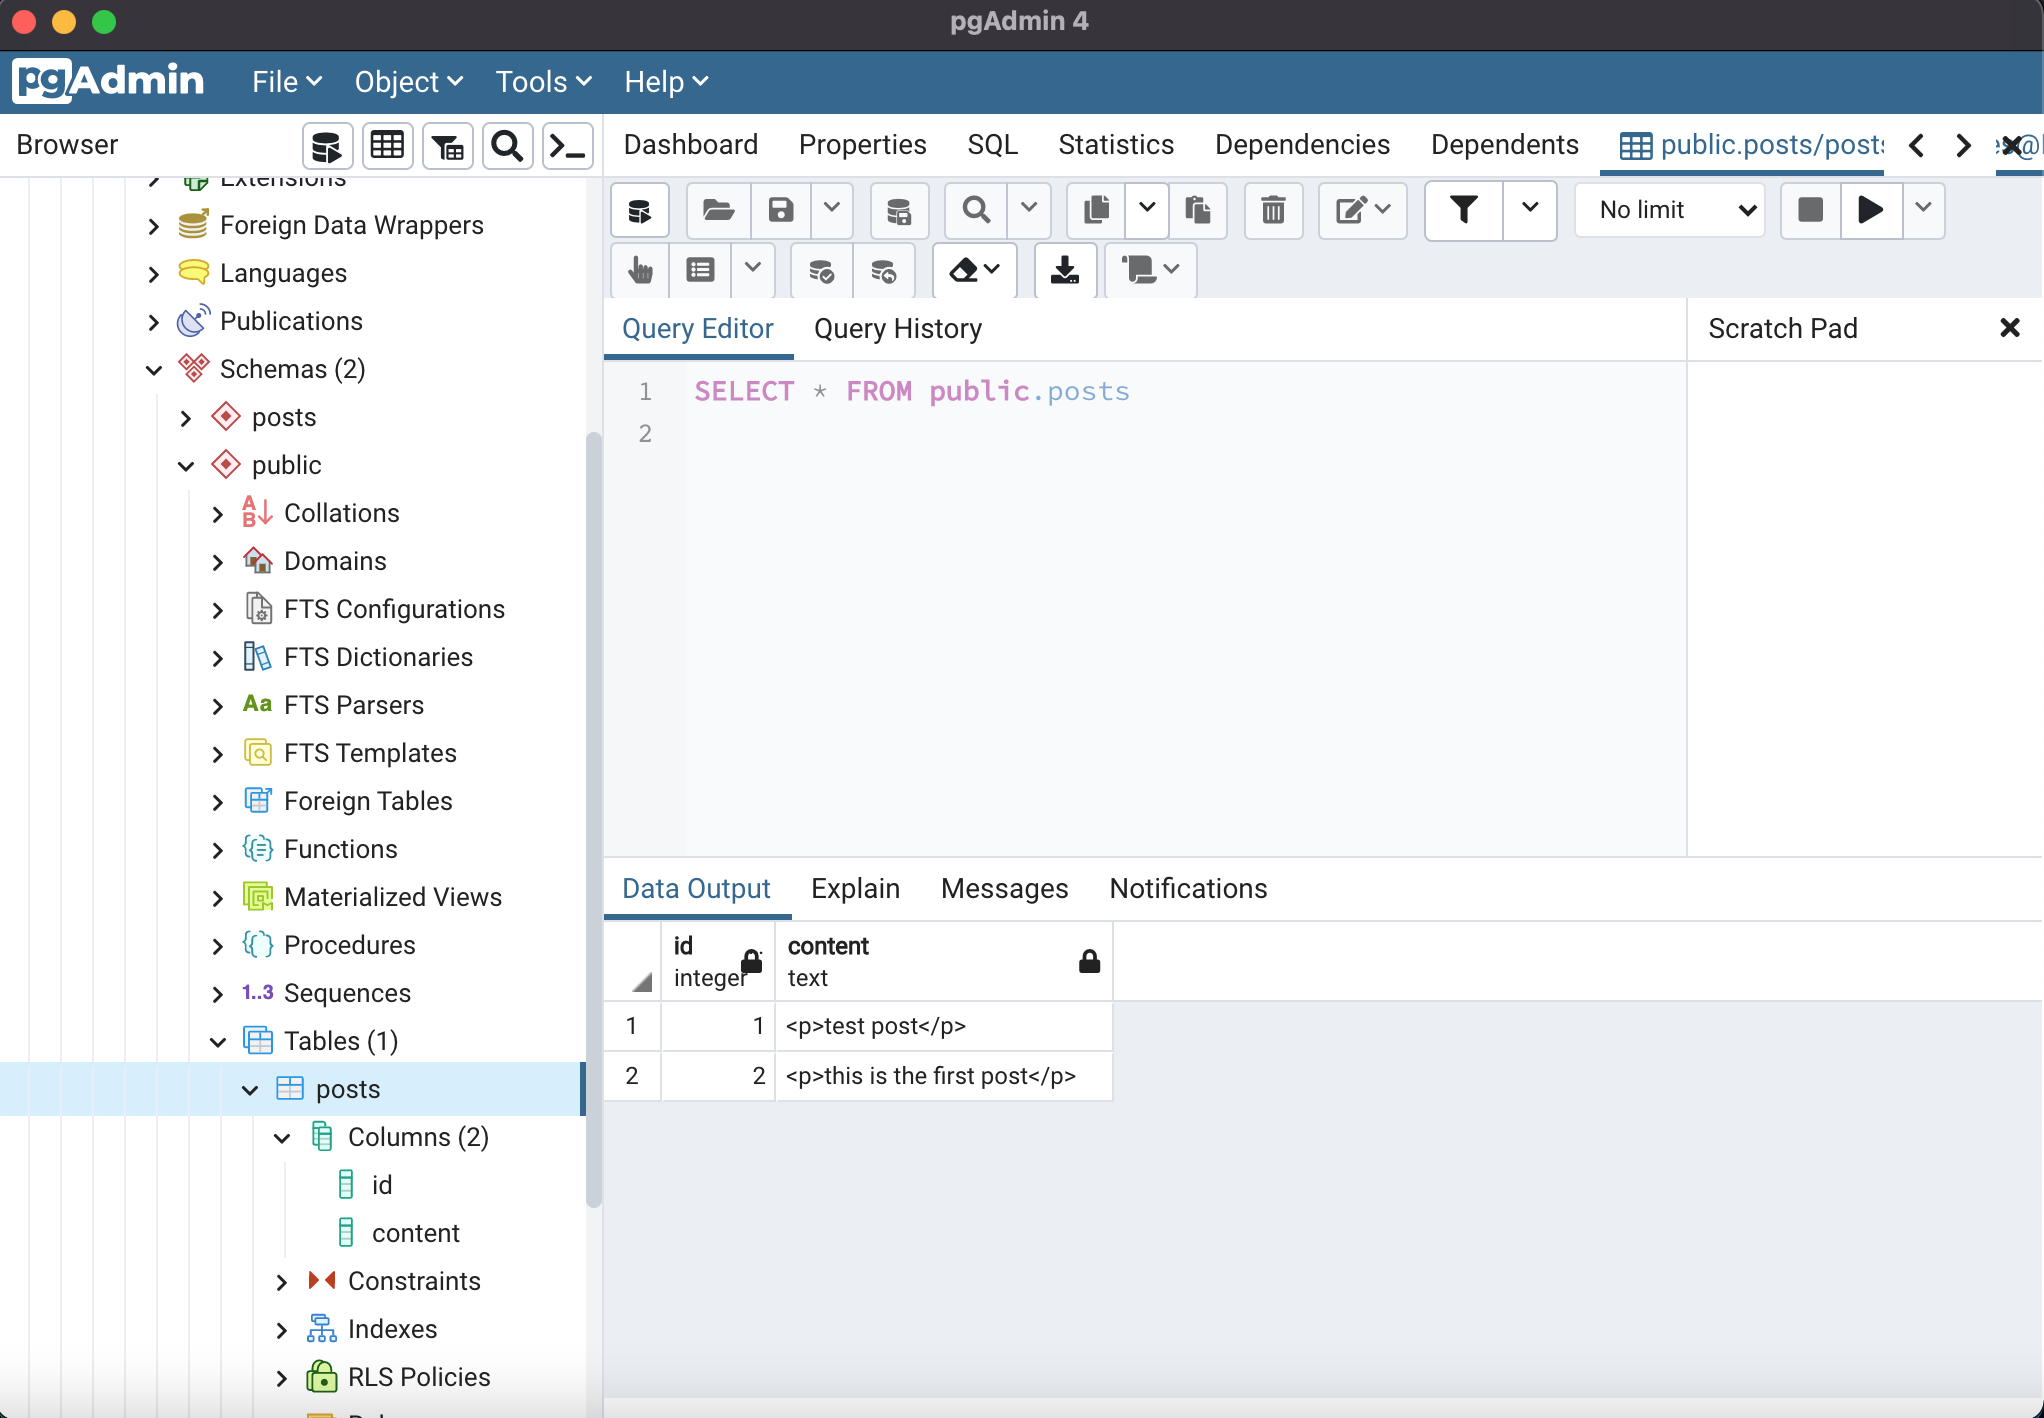
Next you need to create your tables, for our example we will create a table containing our posts named posts with two columns : id and content
- id is the auto-generated id of the post
- content is the content of the post (text)
Step 3 : Create the Next.js app
In our case we will use the app created in our Quill article here :
import dynamic from 'next/dynamic'

const QuillNoSSRWrapper = dynamic(import('react-quill'), {
  ssr: false,
  loading: () => <p>Loading ...</p>,
})

const modules = {
  toolbar: [
    [{ header: '1' }, { header: '2' }, { font: [] }],
    [{ size: [] }],
    ['bold', 'italic', 'underline', 'strike', 'blockquote'],
    [
      { list: 'ordered' },
      { list: 'bullet' },
      { indent: '-1' },
      { indent: '+1' },
    ],
    ['link', 'image', 'video'],
    ['clean'],
  ],
  clipboard: {
    // toggle to add extra line breaks when pasting HTML:
    matchVisual: false,
  },
}
/*
 * Quill editor formats
 * See https://quilljs.com/docs/formats/
 */
const formats = [
  'header',
  'font',
  'size',
  'bold',
  'italic',
  'underline',
  'strike',
  'blockquote',
  'list',
  'bullet',
  'indent',
  'link',
  'image',
  'video',
]

export default function Home() {
  return <QuillNoSSRWrapper modules={modules} formats={formats} theme="snow" />
}
If you are not interested in Quill ( which is the text editor), please consider the QuillNoSSRWrapper component as an Input Field for the sake of simplicity.
Step 4 : Install pg
pg is a collection of modules for interfacing with your PostgreSQL database. It has support for callbacks, promises, async/await, connection pooling, prepared statements, cursors, streaming results, C/C++ bindings, rich type parsing,
nom install pg
Step 5 : Create the connetion to the database
For simplification, we will create an conn function that will connect to the database and execute our queries .
create a ‘lib/db.js’ file.
// db.js
import { Pool } from "pg";

let conn;

if (!conn) {
  conn = new Pool({
    user: process.env.PGSQL_USER,
    password: process.env.PGSQL_PASSWORD,
    host: process.env.PGSQL_HOST,
    port: process.env.PGSQL_PORT,
    database: process.env.PGSQL_DATABASE,
  });
}

export default conn ;
PGSQL_HOST, PGSQL_PORT, .. have been declared as environnement variables. in our development setup, we only need to create an .env.local file at the root of our app containing the variables :
.env.local :
PGSQL_HOST= 127.0.0.1
PGSQL_PORT= 5432
PGSQL_DATABASE= posts
PGSQL_USER= {user}  //user here
PGSQL_PASSWORD= {password}  //password here
IMPORTANT : do not declare these variables in an .env.local on production, rather use more secure means like Secrets if you use Vercel.
Step 6: Sending a post to our API endpoint
We modify our component like this :
import dynamic from 'next/dynamic'
import React, { useState } from "react";
import parse from 'html-react-parser';
import axios from 'axios';


const QuillNoSSRWrapper = dynamic(import('react-quill'), {
  ssr: false,
  loading: () => <p>Loading ...</p>,
})


const modules = {
  toolbar: [
    [{ header: '1' }, { header: '2' }, { font: [] }],
    [{ size: [] }],
    ['bold', 'italic', 'underline', 'strike', 'blockquote'],
    [
      { list: 'ordered' },
      { list: 'bullet' },
      { indent: '-1' },
      { indent: '+1' },
    ],
    ['link', 'image', 'video'],
    ['clean'],
  ],
  clipboard: {
    // toggle to add extra line breaks when pasting HTML:
    matchVisual: false,
  },
}
/*
 * Quill editor formats
 * See https://quilljs.com/docs/formats/
 */
const formats = [
  'header',
  'font',
  'size',
  'bold',
  'italic',
  'underline',
  'strike',
  'blockquote',
  'list',
  'bullet',
  'indent',
  'link',
  'image',
  'video',
]

function  onSubmit (value) {
console.log(value)
  let data={content : value}
    axios.post('/api/sendpost', data)
    .then((response) => {
      console.log(response)
})
.catch((e) => { console.log(e)}
)}

export default function Home() {
  const [value, setValue] = useState('');


  return (
    <div>
  <QuillNoSSRWrapper modules={modules} placeholder='compose here' value={value} onChange={setValue} formats={formats} theme="snow"  />
 <button onClick={e => onSubmit(value)} > Send post</button>
  <p>{value}</p>
  {parse(value)}
  </div>
  )}
We added a button that, when clicked, sends the content of the editor to the /api/sendpost endpoint
Step 7: Create our API endpoint
Using the api feature of Next.js, we will create an endpoint that we will post to each time we send a post.
under /pages, create the api directory, then under it create the sendpost directory.
then create the index.js file :
import conn from '../../../lib/db'

export default async (req, res) => {
    try {
        console.log("req nom", req.body)
        const query = 'INSERT INTO posts(content) VALUES($1)'
        const values = [req.body.content]
      const result = await conn.query(
          query,
          values
      );
      console.log( "ttt",result );
  } catch ( error ) {
      console.log( error );
  }


  };
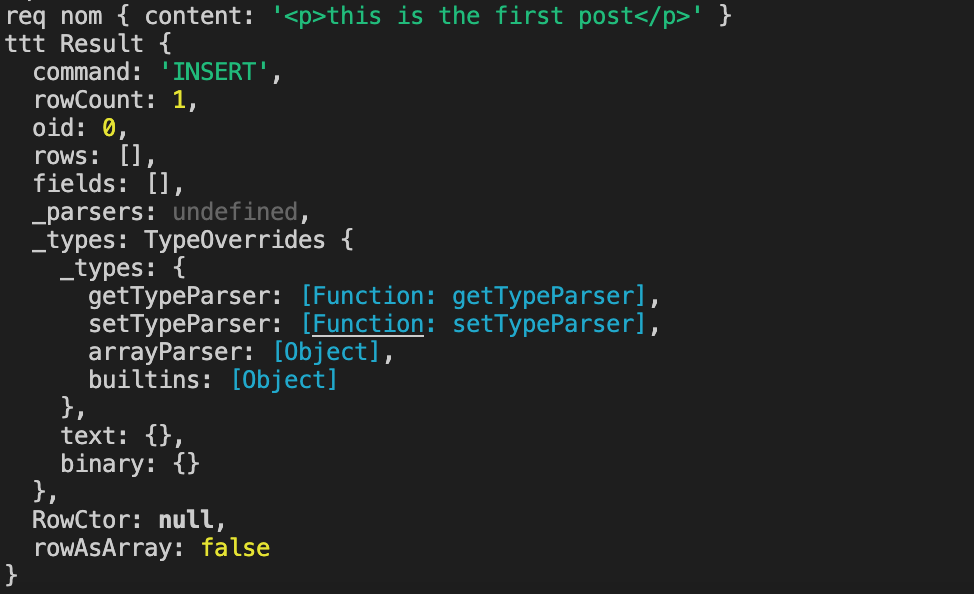
Each time we send a request to the endpoint, we will take the content field in the request body, and insert it in our post table.
Step 8 : Test our code
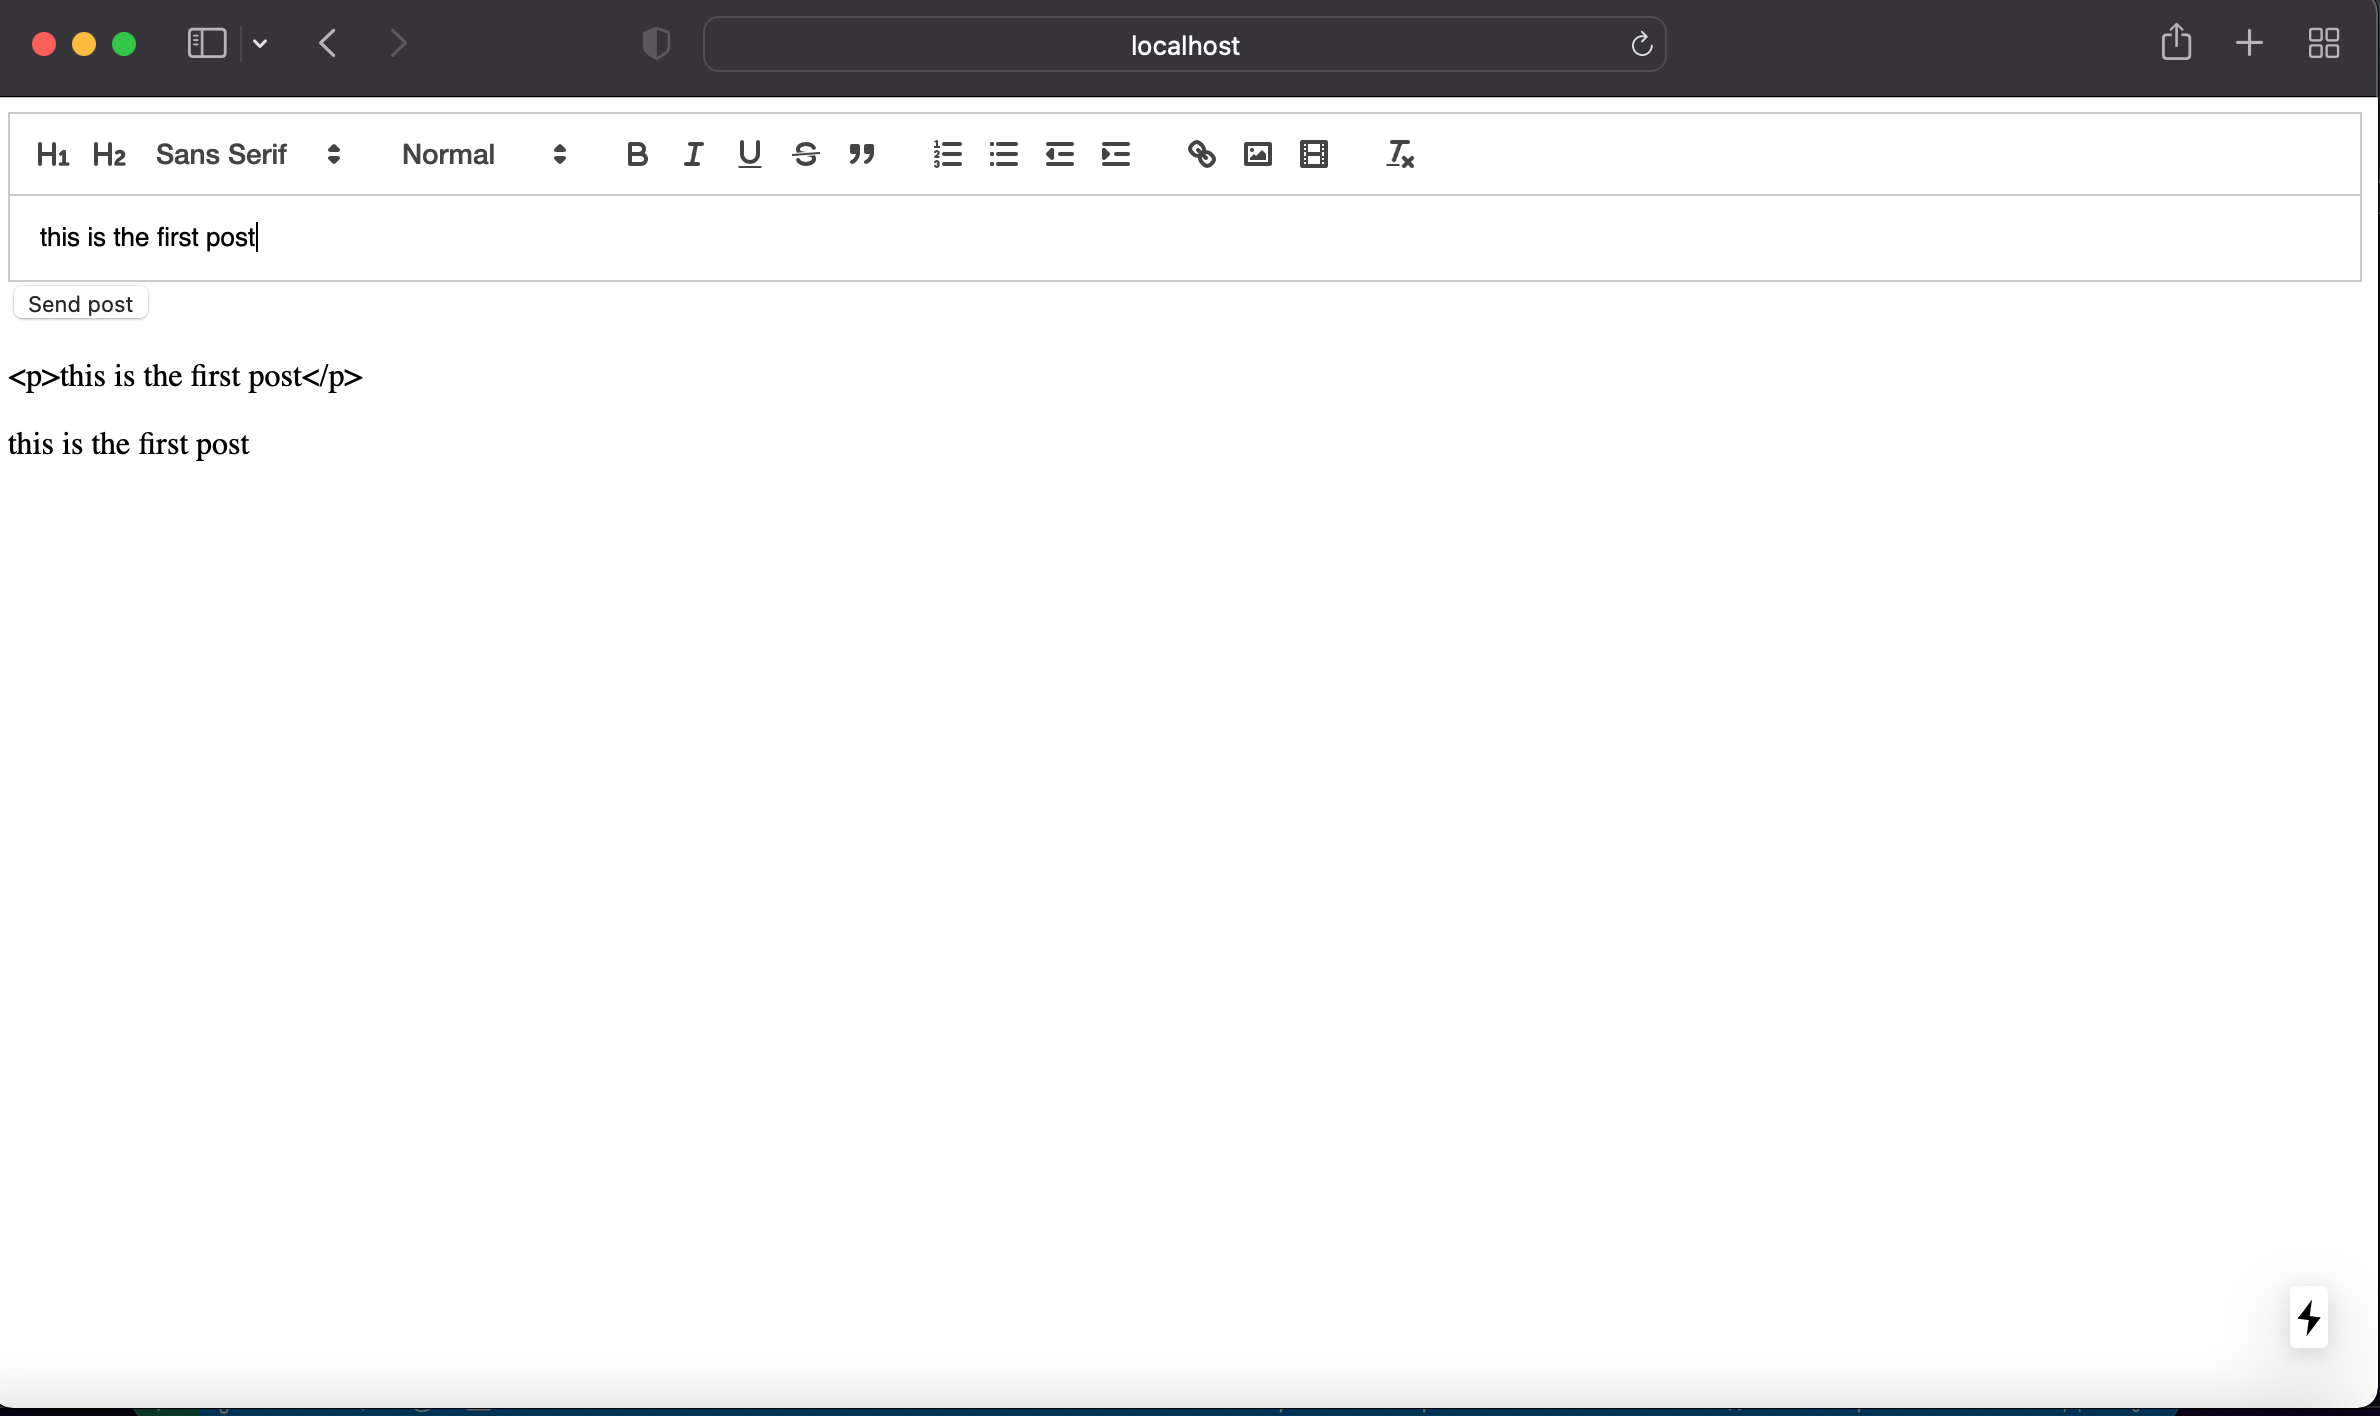
Here are the results :
The post to be sent :
