SimpleNext.js
Add authentication to your Next.js app with NextAuth.js
Implementing authentication in an app from the ground app is a sensitive and tedious process, luckily several new ways emerged to make this task easier (Firebase authentication, Auth0, passport.js, …) . We will see in this article how to implement authentication in our Next.js app using NextAuth.js.
What is NextAuth
NextAuth.js is a flexible, easy to use and secure open source authentication solution designed from the ground up to support Next.js and Serverless. It support multiple providers like Facebook, Google, Twitter, Github, … and the traditionnal email/password authentication method.
We will see now how to implement authentication using NextAuth.js and Github as a provider.
Step 1 : Create our app and install the packages
Let’s create our app first :
npx create-next-app nextauth-app
and install NextAuth.js:
npm install next-auth
Step2 : Configure our Github provider
To configure the authentication providers for our app, we will go to pages/api, then create the directory auth and under it the file […nextauth].js :
import NextAuth from 'next-auth'
import Providers from 'next-auth/providers'

export default NextAuth({
  providers: [
    // OAuth authentication providers, here GitHub...
    Providers.GitHub({
        clientId: process.env.GITHUB_ID,
        clientSecret: process.env.GITHUB_SECRET
      }),

  ],

})
Here we configure the Github provider with the clientId and the secret. these will be configured for the test environnement in the .env.local file in the root of our project :
GITHUB_ID=<Your_github_id>
GITHUB_SECRET=<Your_github_secret>
Where do I get these credentials?
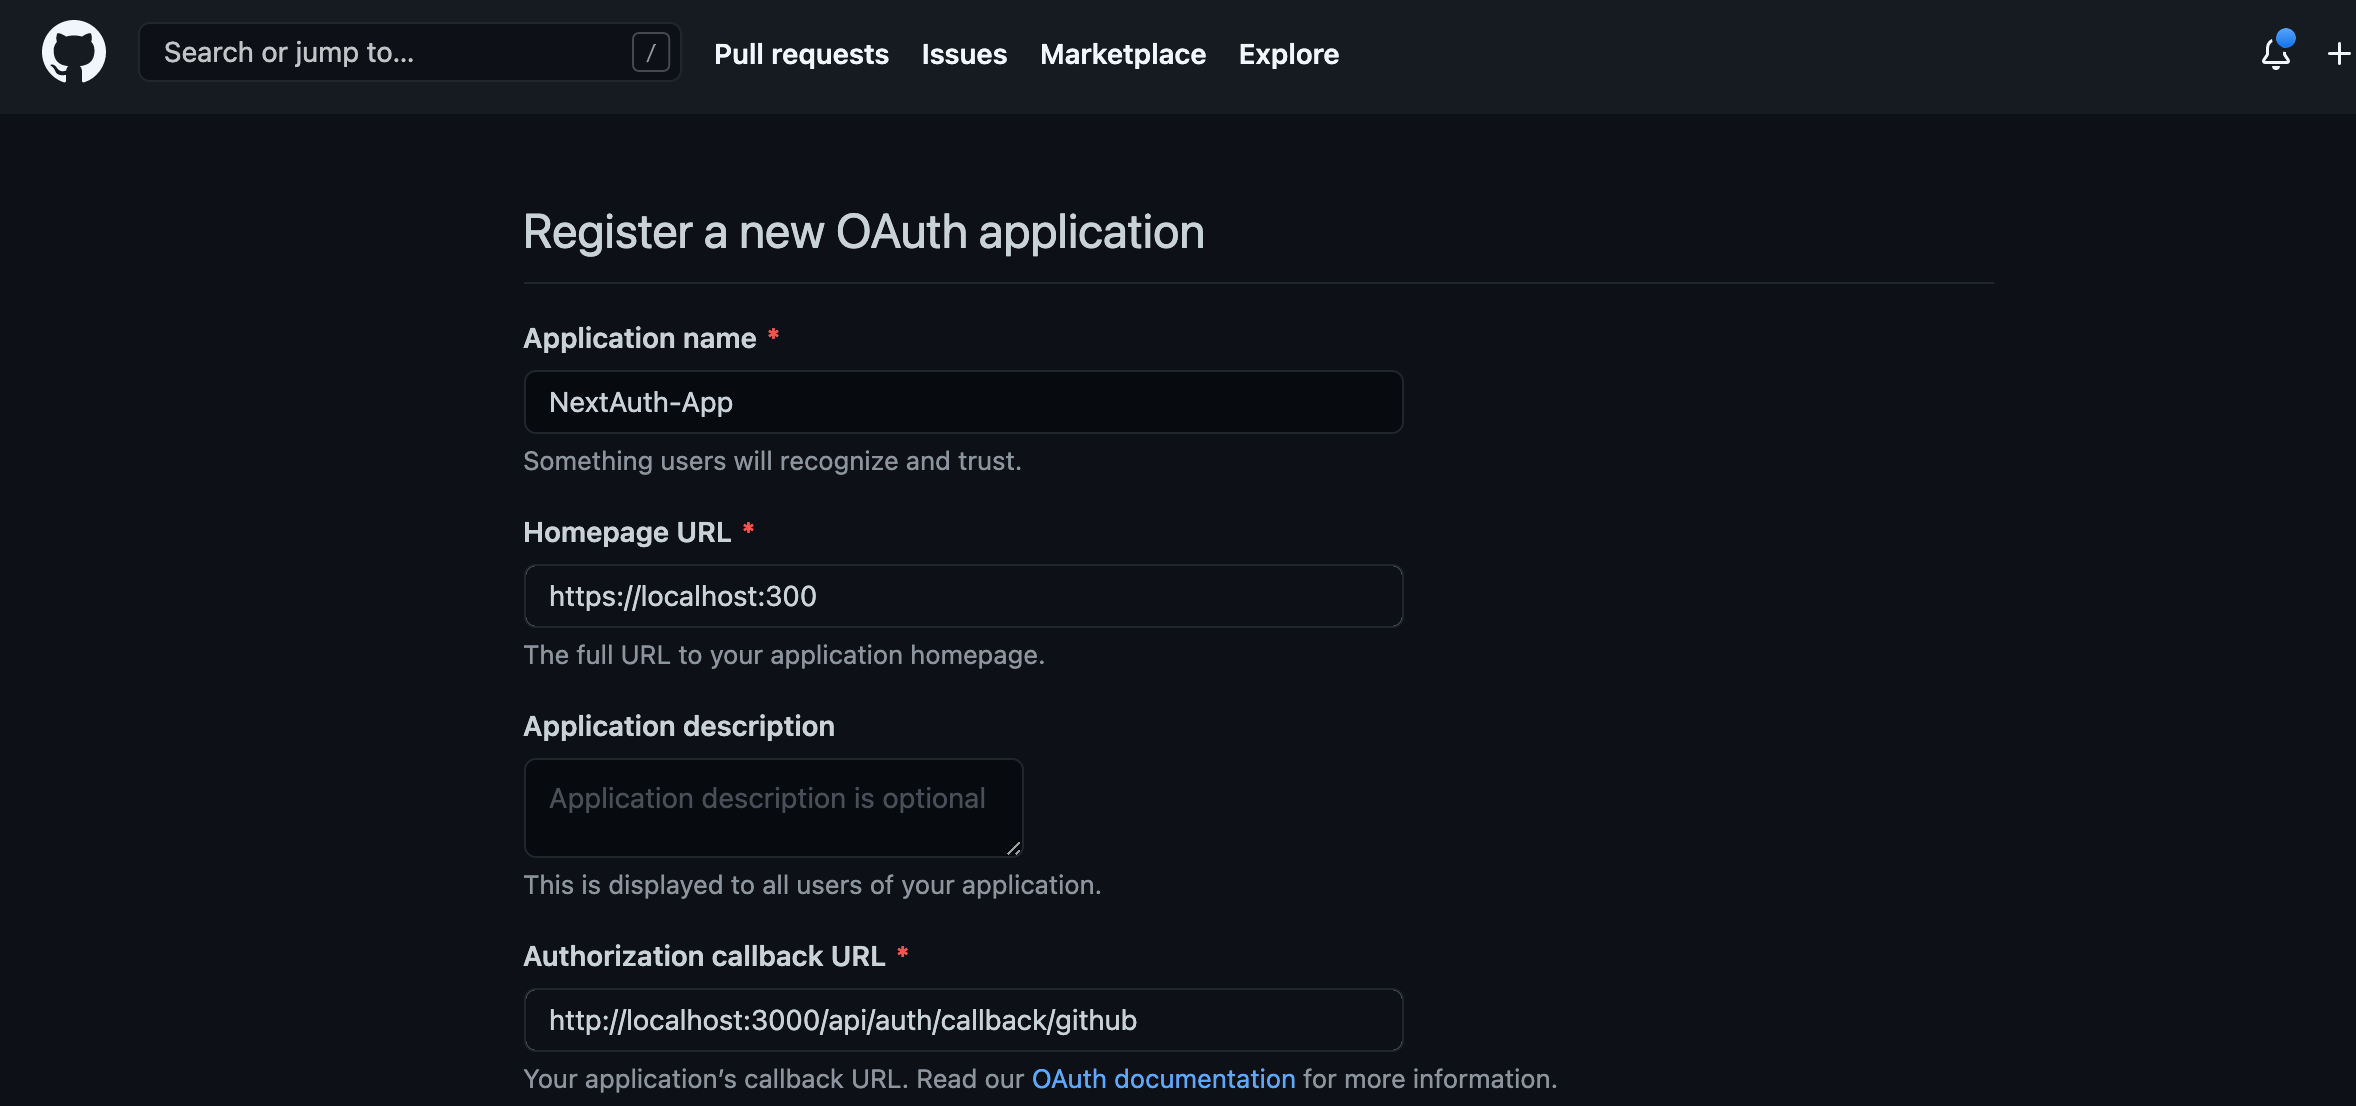
You need to log in to your GitHub account, then go to https://github.com/settings/applications/new
From there you will add the application name, the url of your app ( localhost in our case, since we are only testing in our case) , and the callback url ( the callback is [url of your app]/api/auth/callback/[provider] , so in our case http://localhost:3000/api/auth/callback/github )
then you will be redirected to a page where you will see you client ID and can generate the secret.
Step 3 : Update your index.js and _app.js
In your index.js, we will now check if the user is logged in , which means a session exists, and show his username and a button to logout or if it is not logged in, then we show the log in button.
Note that the session , the sign in and sign out method come out of the box with NextAuth.js.
The index.js file will look like this :
import {
  useSession, signIn, signOut
} from 'next-auth/client'

export default function Component() {
  const [ session, loading ] = useSession()
  if(session) {
    return <>
      Signed in as {session.user.name} <br/>
      <button onClick={() => signOut()}>Sign out</button>
    </>
  }
  return <>
    Not signed in <br/>
    <button onClick={() => signIn()}>Sign in</button>
  </>
}
We need also to add the provider we configured earlier to _app.js so the session can be verified in all the pages of the app.
_app.js :
import { Provider } from 'next-auth/client'

export default ({ Component, pageProps }) => {
  return (
    <Provider session={pageProps.session} >
      <Component {...pageProps} />
    </Provider>
  )
}
Step4 : Check the final result
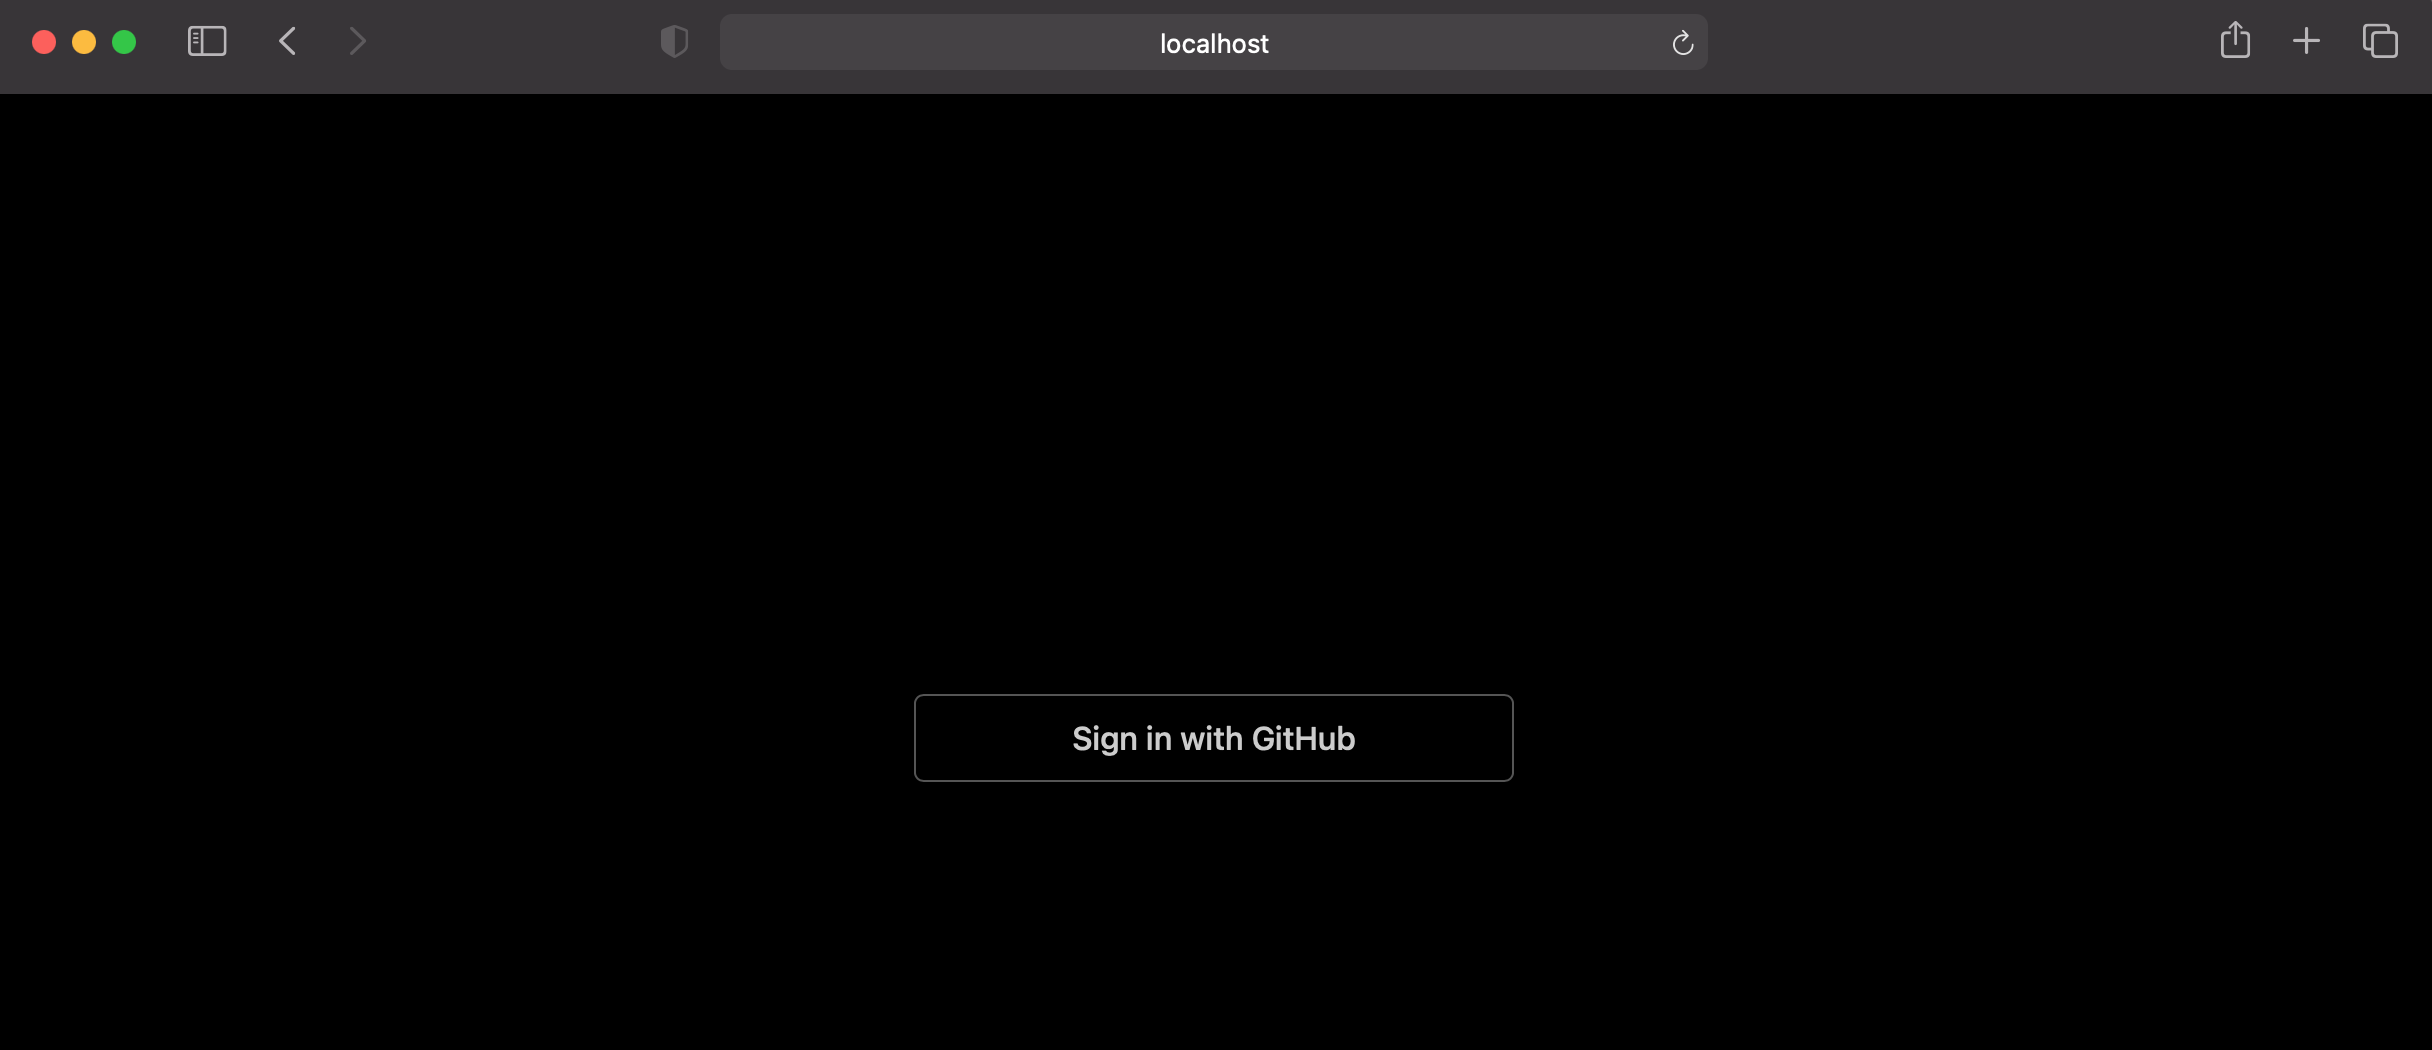
So There is our home page :
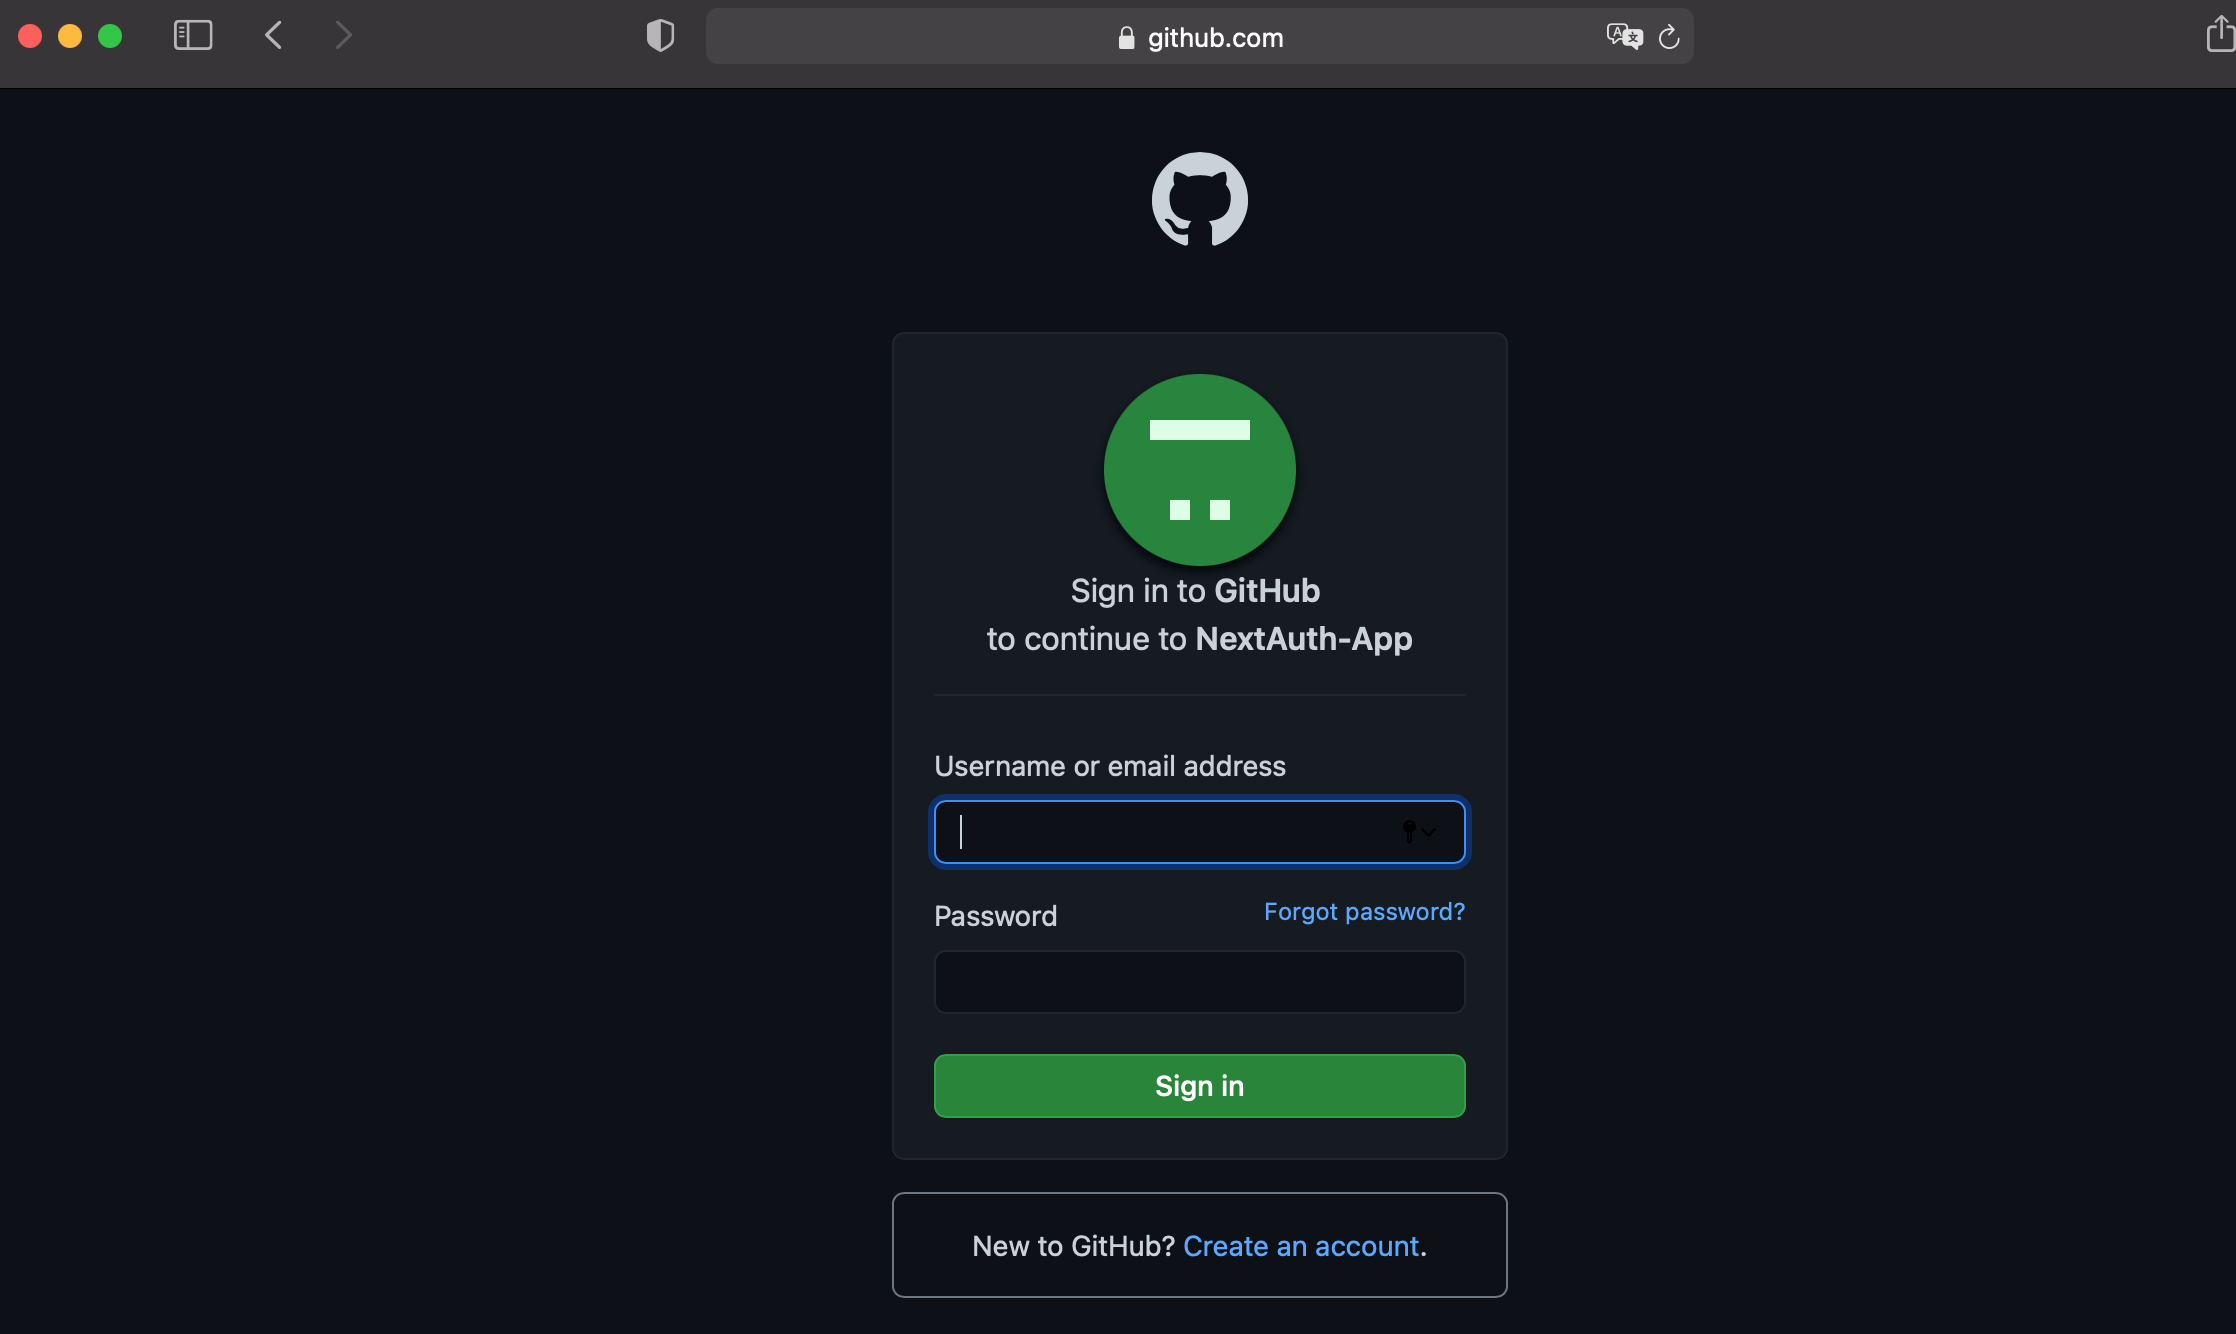
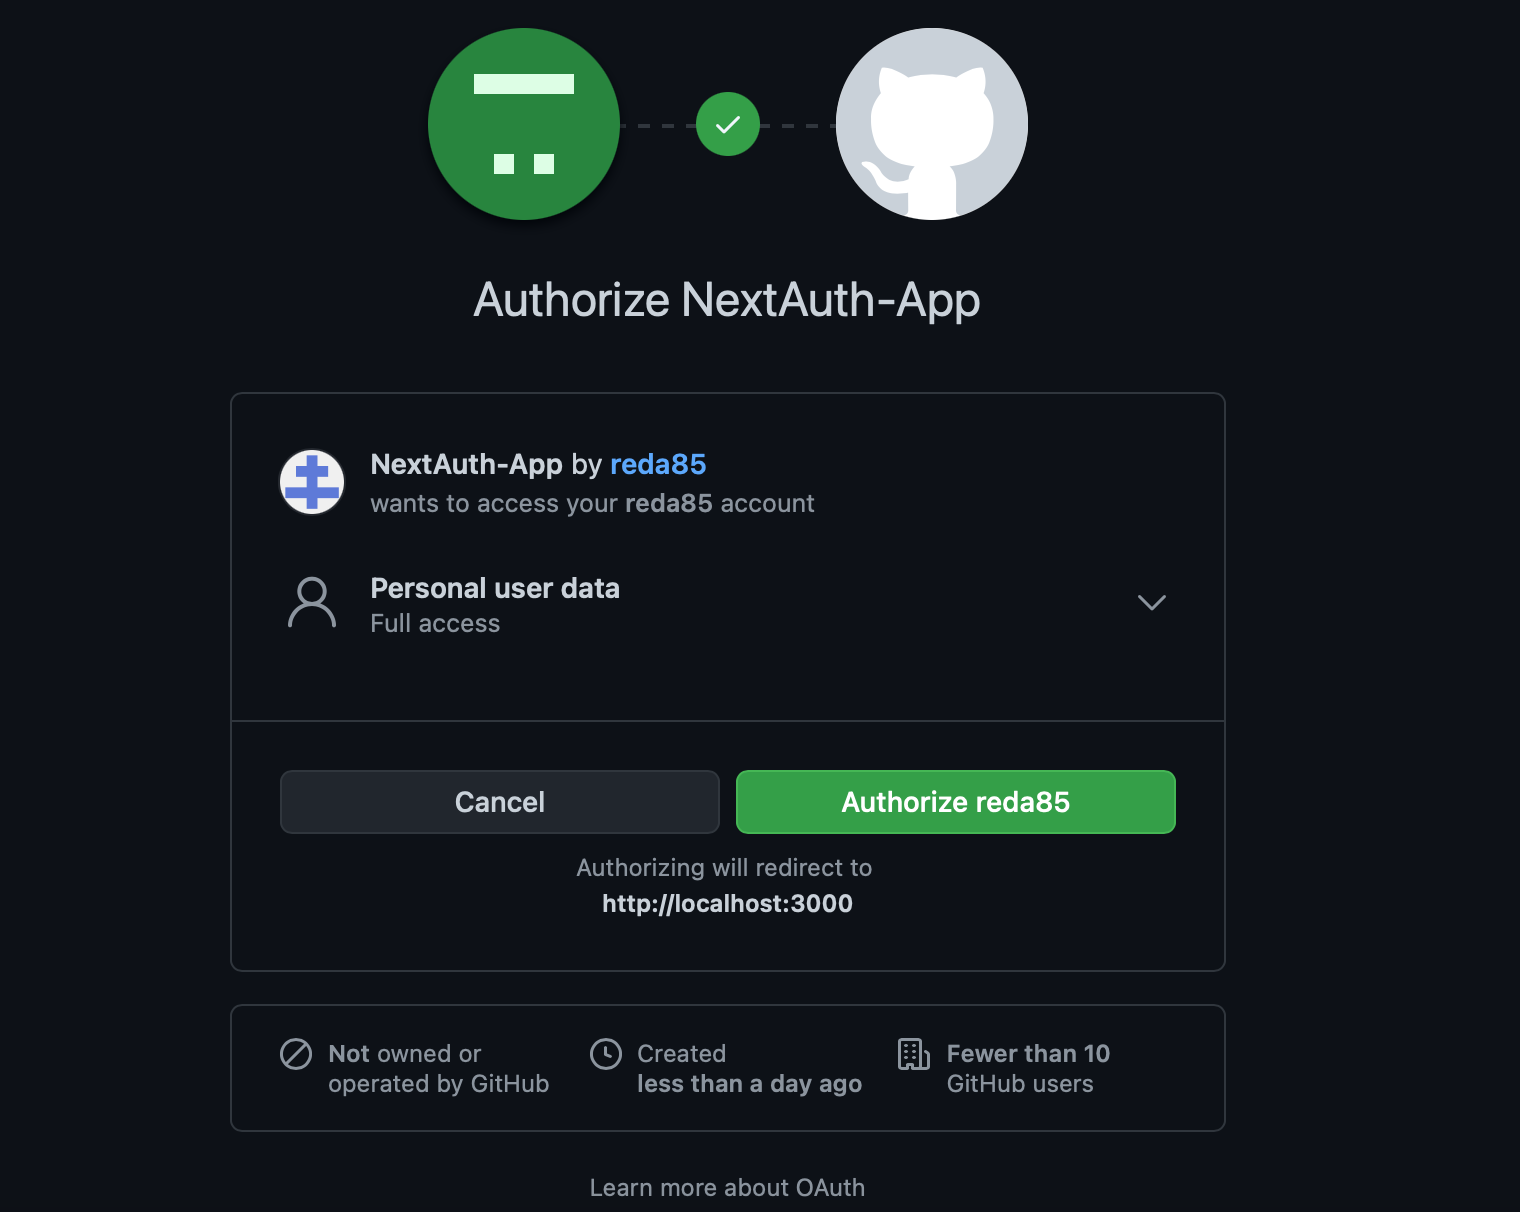
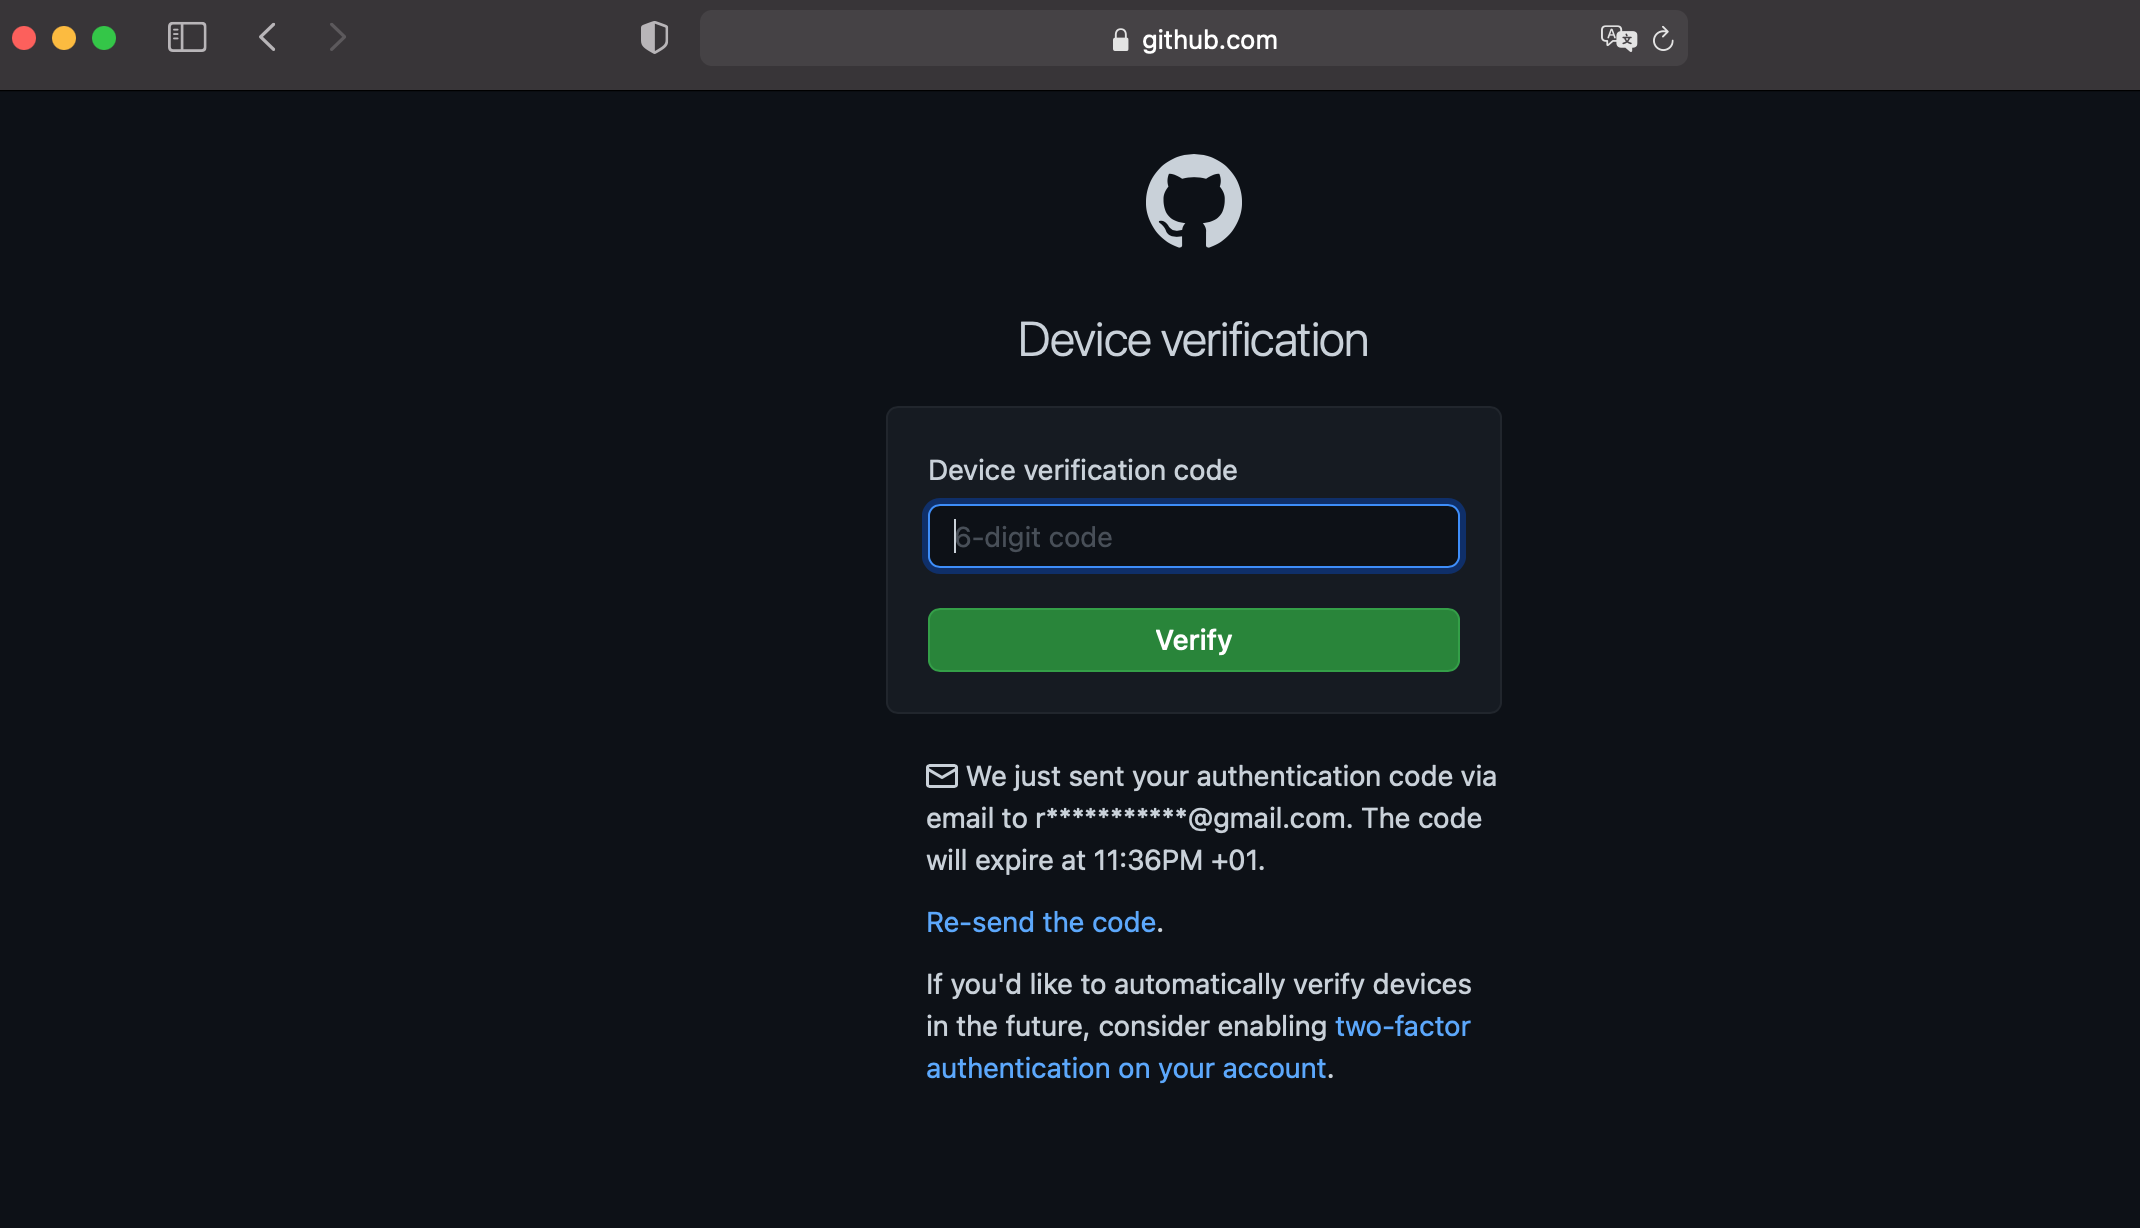
We will now login, and we are redirected to the Github authentication screens :
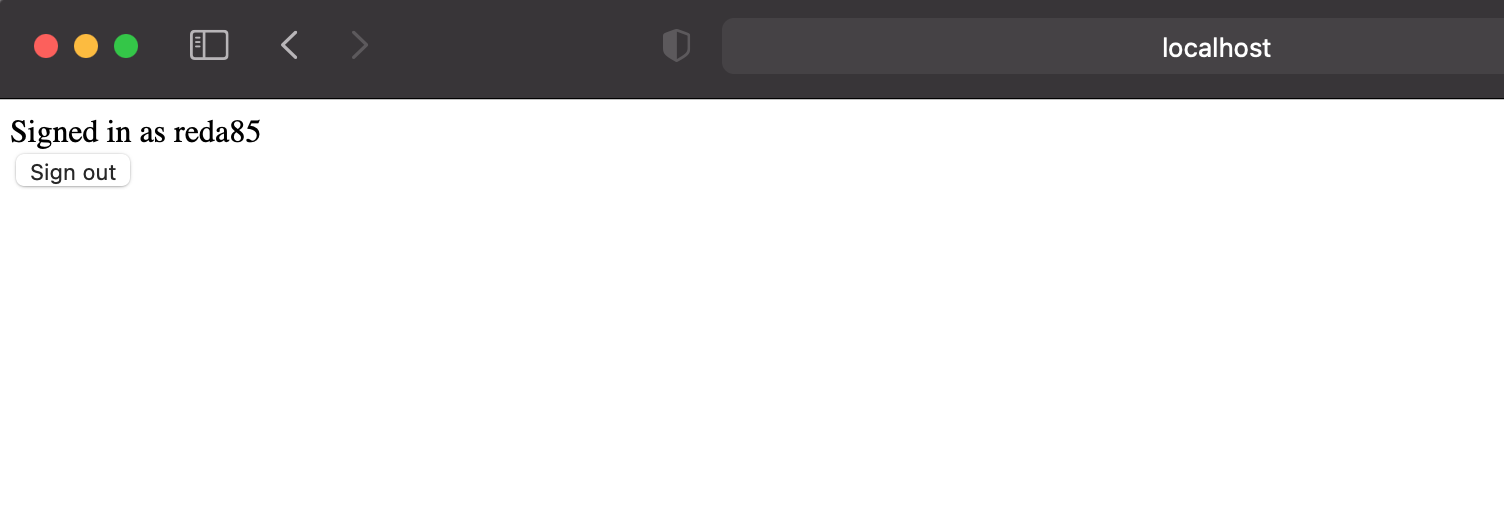
We are now logged in :
Conclusion
We have seen in this article how to implement easily authentication in our app using NextAuth.js and Github. The same process can be done using Facebook, Google, Twitter, …
