SimpleNext.js
How to use MySQL database in Next.js apps
Mysql is certainly one of the most popular databases for web apps, and web apps built with Next.js are no exception in that regard. We will see in this article how to seamlessly use MySQL in our Next.js app.
Step 1 : Install MySQL
The installation of MySQL locally depends on your OS , in our case for macOS :
brew install MySQL
Step 2 : Create your Schema and tables
The example app we will make will consist on a text editor in which we create a post and store it in our database.
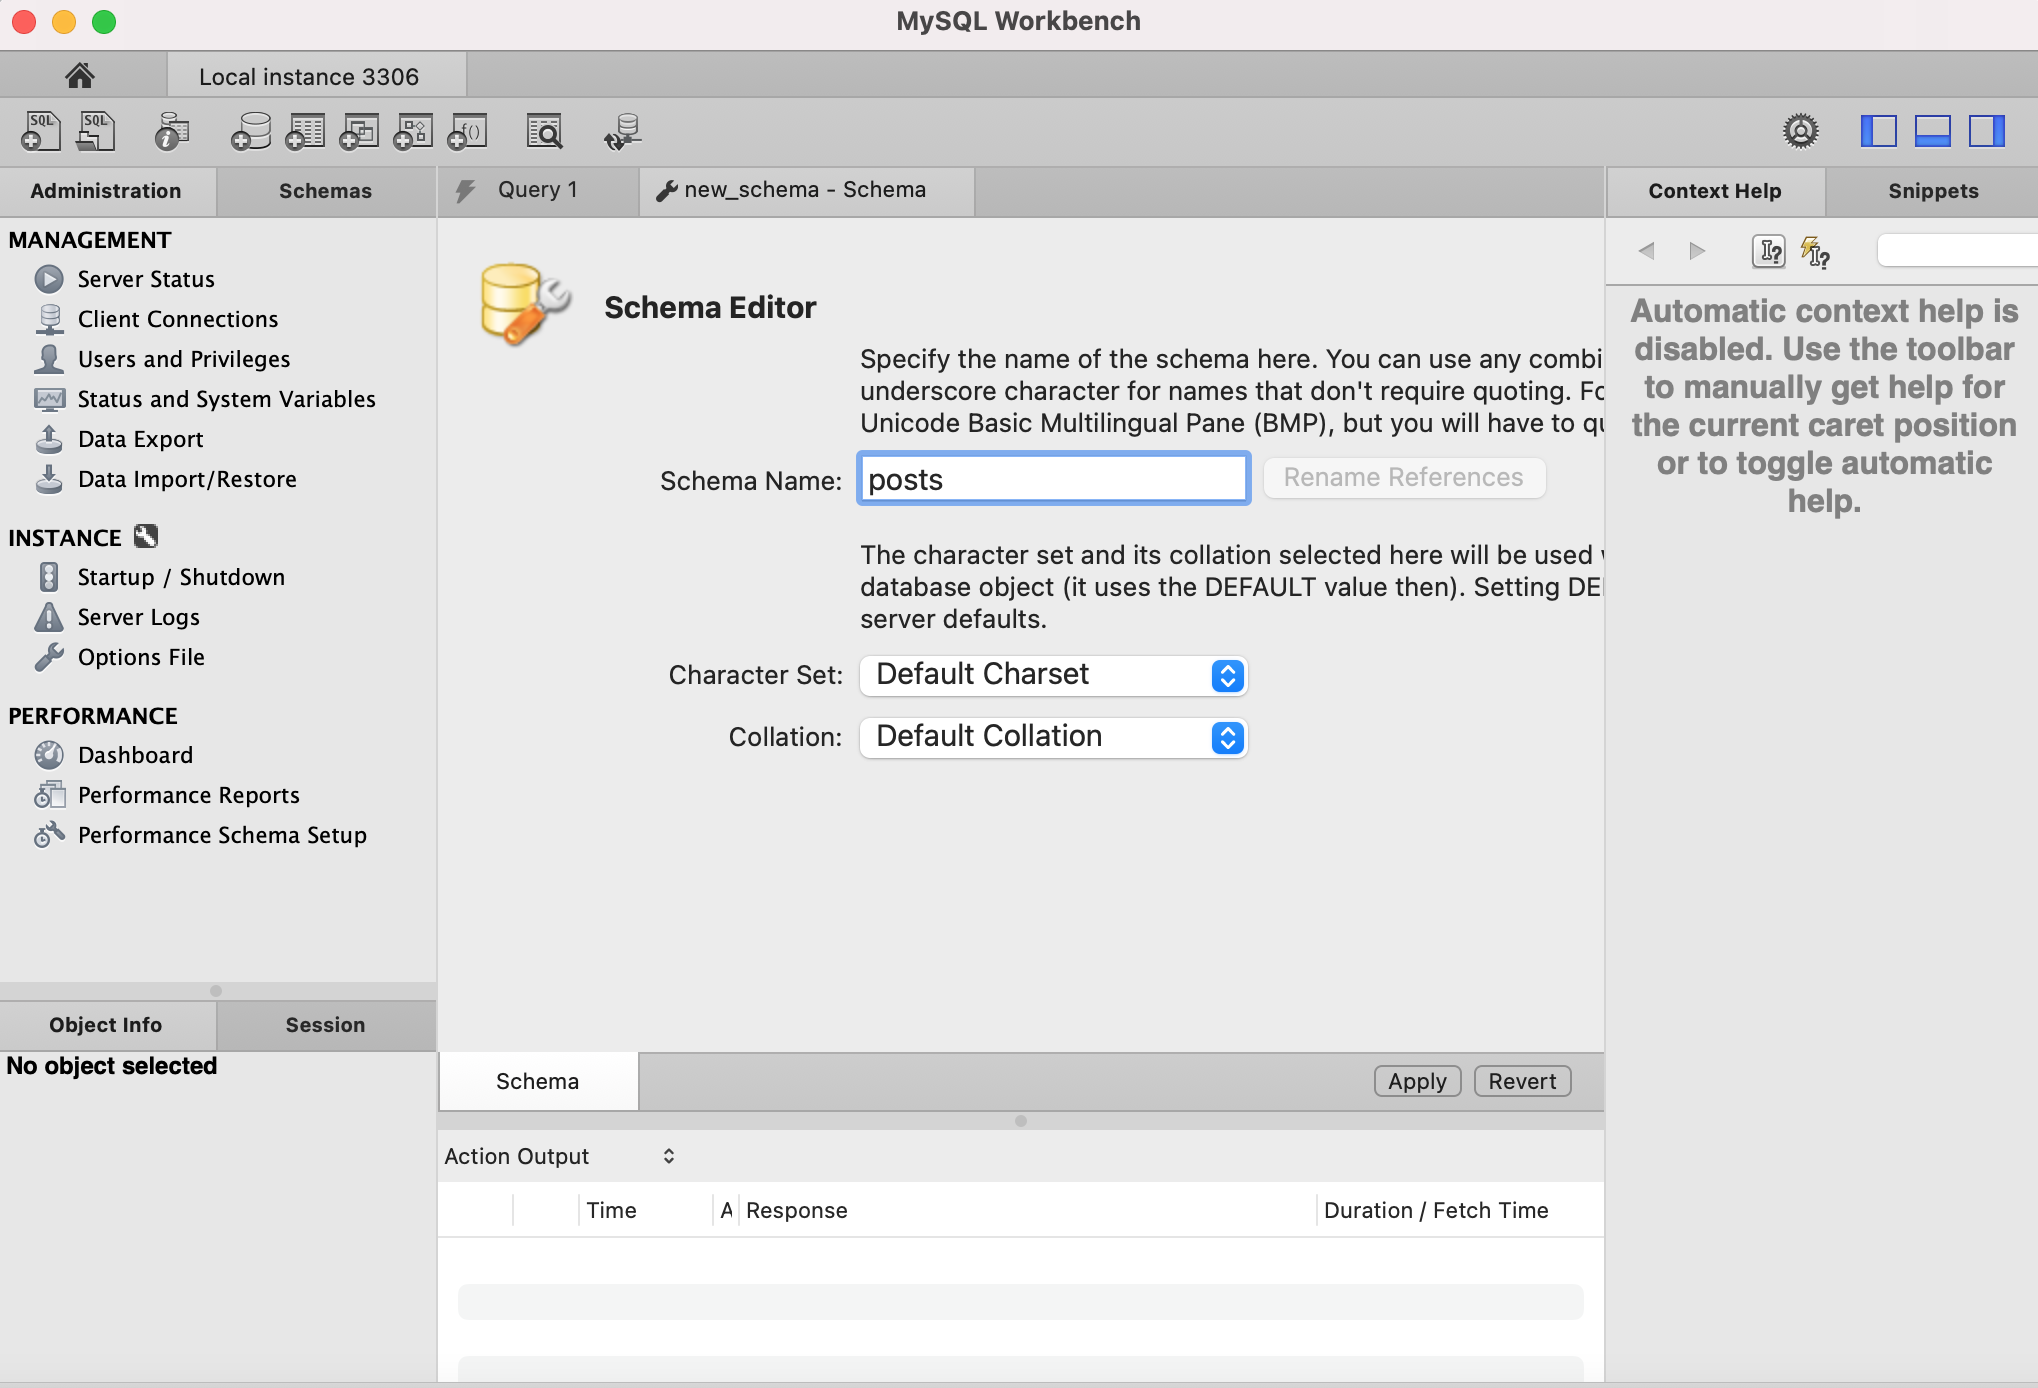
You need to create the schema that will host your tables. In our case we will create a schema called posts using MySQLWorkBench ( you can use whatever tool or way you like)
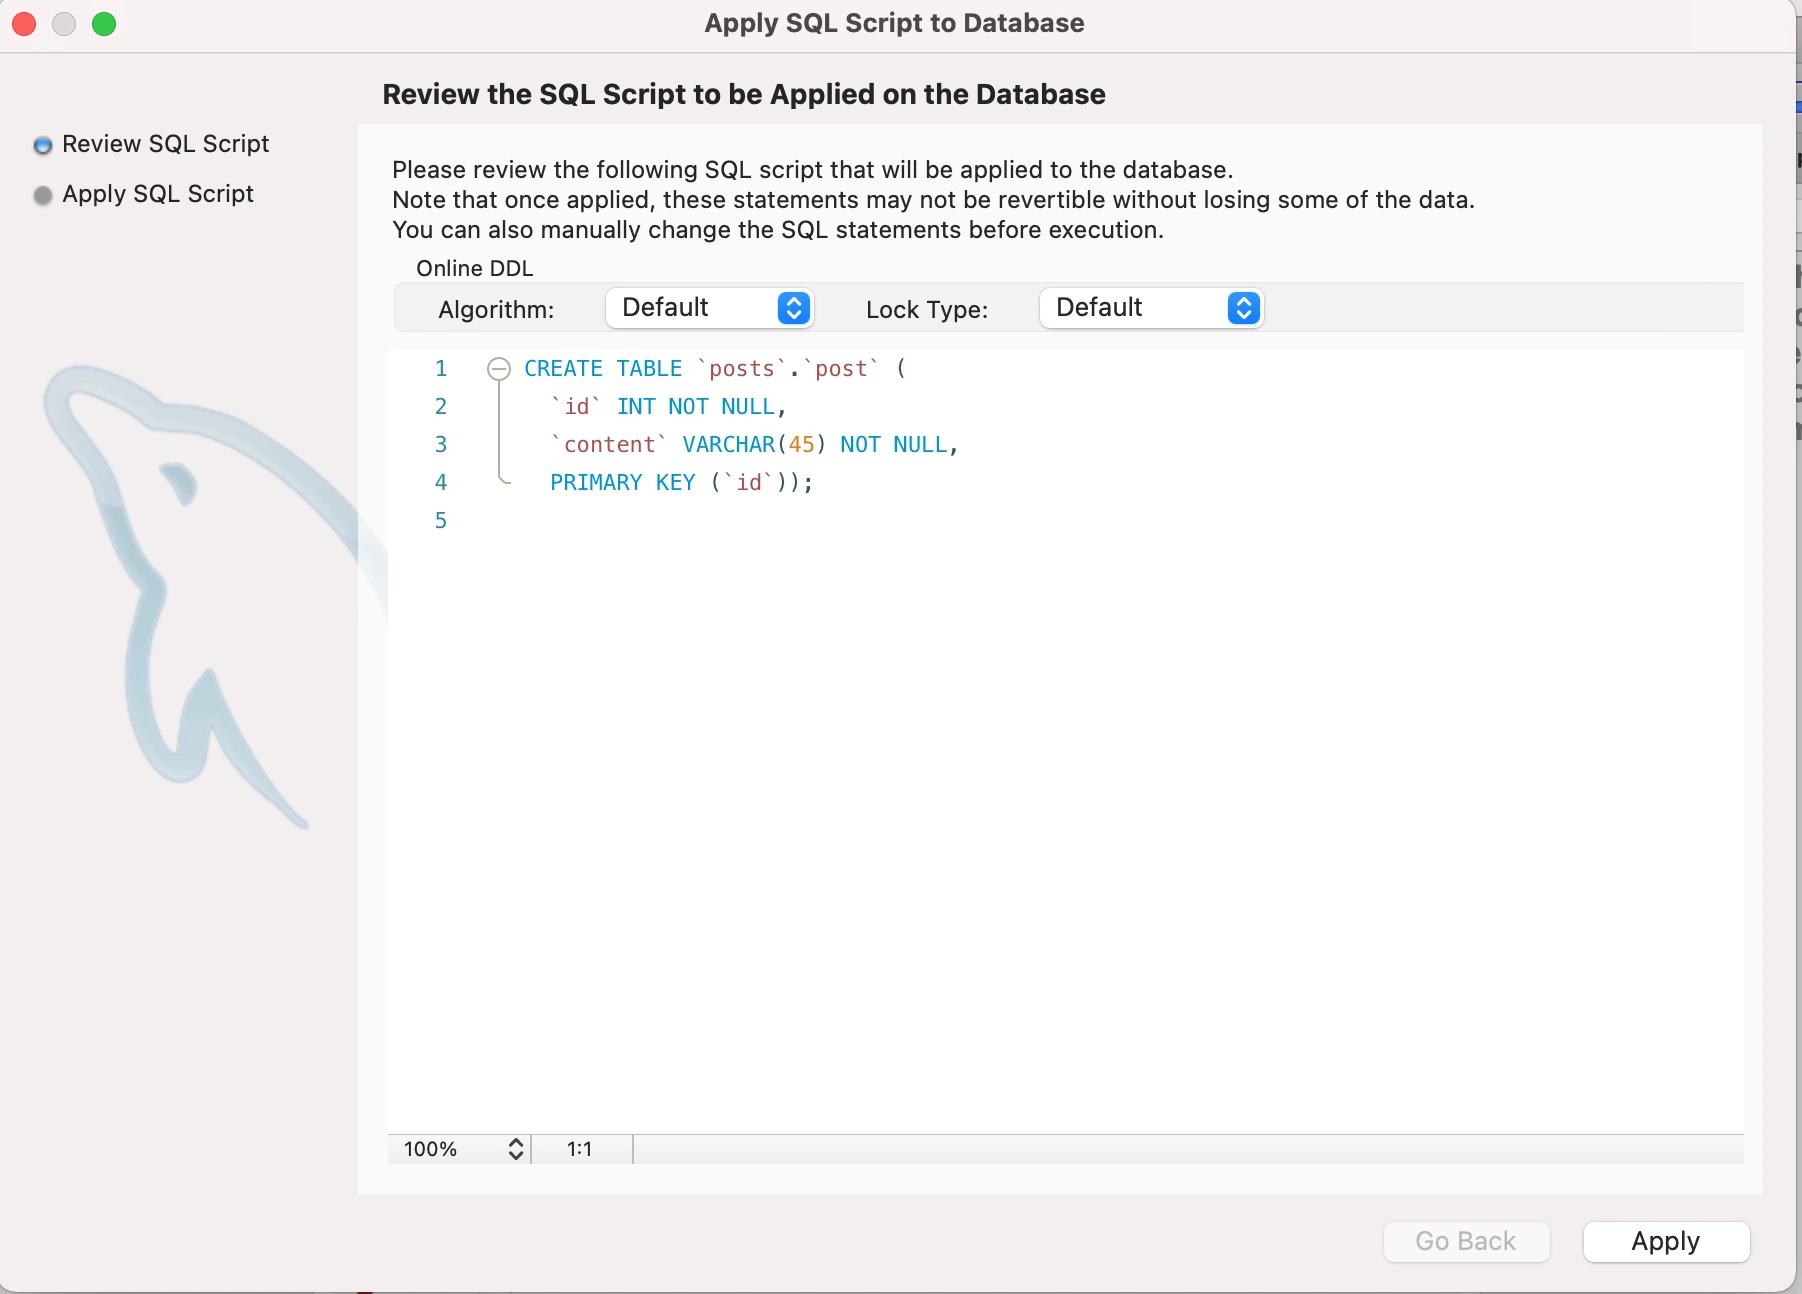
Next you need to create your tables, for our example we will create a table containing our postsnamed posts with two columns : id and content
- id is the auto-generated id of the post
- content is the content of the post (VARCHAR)
Step 3 : Create the Next.js app
In our case we will use the app created in our Quill article here :
import dynamic from 'next/dynamic'

const QuillNoSSRWrapper = dynamic(import('react-quill'), {
  ssr: false,
  loading: () => <p>Loading ...</p>,
})

const modules = {
  toolbar: [
    [{ header: '1' }, { header: '2' }, { font: [] }],
    [{ size: [] }],
    ['bold', 'italic', 'underline', 'strike', 'blockquote'],
    [
      { list: 'ordered' },
      { list: 'bullet' },
      { indent: '-1' },
      { indent: '+1' },
    ],
    ['link', 'image', 'video'],
    ['clean'],
  ],
  clipboard: {
    // toggle to add extra line breaks when pasting HTML:
    matchVisual: false,
  },
}
/*
 * Quill editor formats
 * See https://quilljs.com/docs/formats/
 */
const formats = [
  'header',
  'font',
  'size',
  'bold',
  'italic',
  'underline',
  'strike',
  'blockquote',
  'list',
  'bullet',
  'indent',
  'link',
  'image',
  'video',
]

export default function Home() {
  return <QuillNoSSRWrapper modules={modules} formats={formats} theme="snow" />
}
If you are not interested in Quill ( which is the text editor), please consider the QuillNoSSRWrapper component as an Input Field for the sake of simplicity.
Step 4 : Install serverless-mysql
serverless-mysql is a wrapper for the mysql module that adds connection management, async/await support and monitoring of number of connections.
nom install serverless-mysql
Step 5 : Create executeQuery helper
For simplification, we will create an executeQuery function that will connect to the database and execute our queries .
create a ‘lib/db.js’ file.
// db.js
import mysql from 'serverless-mysql';
const db = mysql({
  config: {
    host: process.env.MYSQL_HOST,
    port: process.env.MYSQL_PORT,
    database: process.env.MYSQL_DATABASE,
    user: process.env.MYSQL_USER,
    password: process.env.MYSQL_PASSWORD
  }
});
export default async function excuteQuery({ query, values }) {
  try {
    const results = await db.query(query, values);
    await db.end();
    return results;
  } catch (error) {
    return { error };
  }
}
MYSQL_HOST, MYSQL_PORT, .. have been declared as environnement variables. in our development setup, we only need to create an .env.local file at the root of our app containing the variables :
.env.local :
MYSQL_HOST= 127.0.0.1
MYSQL_PORT= 3306
MYSQL_DATABASE= posts
MYSQL_USER= {user}  //user here
MYSQL_PASSWORD= {password}  //password here
IMPORTANT : do not declare these variables in an .env.local on production, rather use more secure means like Secrets if you use Vercel.
Step 6: Sending a post to our API endpoint
We modify our component like this :
import dynamic from 'next/dynamic'
import React, { useState } from "react";
import parse from 'html-react-parser';
import axios from 'axios';


const QuillNoSSRWrapper = dynamic(import('react-quill'), {
  ssr: false,
  loading: () => <p>Loading ...</p>,
})


const modules = {
  toolbar: [
    [{ header: '1' }, { header: '2' }, { font: [] }],
    [{ size: [] }],
    ['bold', 'italic', 'underline', 'strike', 'blockquote'],
    [
      { list: 'ordered' },
      { list: 'bullet' },
      { indent: '-1' },
      { indent: '+1' },
    ],
    ['link', 'image', 'video'],
    ['clean'],
  ],
  clipboard: {
    // toggle to add extra line breaks when pasting HTML:
    matchVisual: false,
  },
}
/*
 * Quill editor formats
 * See https://quilljs.com/docs/formats/
 */
const formats = [
  'header',
  'font',
  'size',
  'bold',
  'italic',
  'underline',
  'strike',
  'blockquote',
  'list',
  'bullet',
  'indent',
  'link',
  'image',
  'video',
]

function  onSubmit (value) {
console.log(value)
  let data={content : value}
    axios.post('/api/sendpost', data)
    .then((response) => {
      console.log(response)
})
.catch((e) => { console.log(e)}
)}

export default function Home() {
  const [value, setValue] = useState('');


  return (
    <div>
  <QuillNoSSRWrapper modules={modules} placeholder='compose here' value={value} onChange={setValue} formats={formats} theme="snow"  />
 <button onClick={e => onSubmit(value)} > Send post</button>
  <p>{value}</p>
  {parse(value)}
  </div>
  )}
We added a button that, when clicked, sends the content of the editor to the /api/sendpost endpoint
Step 7: Create our API endpoint
Using the api feature of Next.js, we will create an endpoint that we will post to each time we send a post.
under /pages, create the api directory, then under it create the sendpost directory.
then create the index.js file :
import excuteQuery from '../../../lib/db'

export default async (req, res) => {
    try {
        console.log("req nom", req.body)
      const result = await excuteQuery({
          query: 'INSERT INTO post(content) VALUES(?)',
          values: [req.body.content],
      });
      console.log( "ttt",result );
  } catch ( error ) {
      console.log( error );
  }


  };
Each time we send a request to the endpoint, we will take the content field in the request body, and insert it in our post table.
Step 8 : Test our code
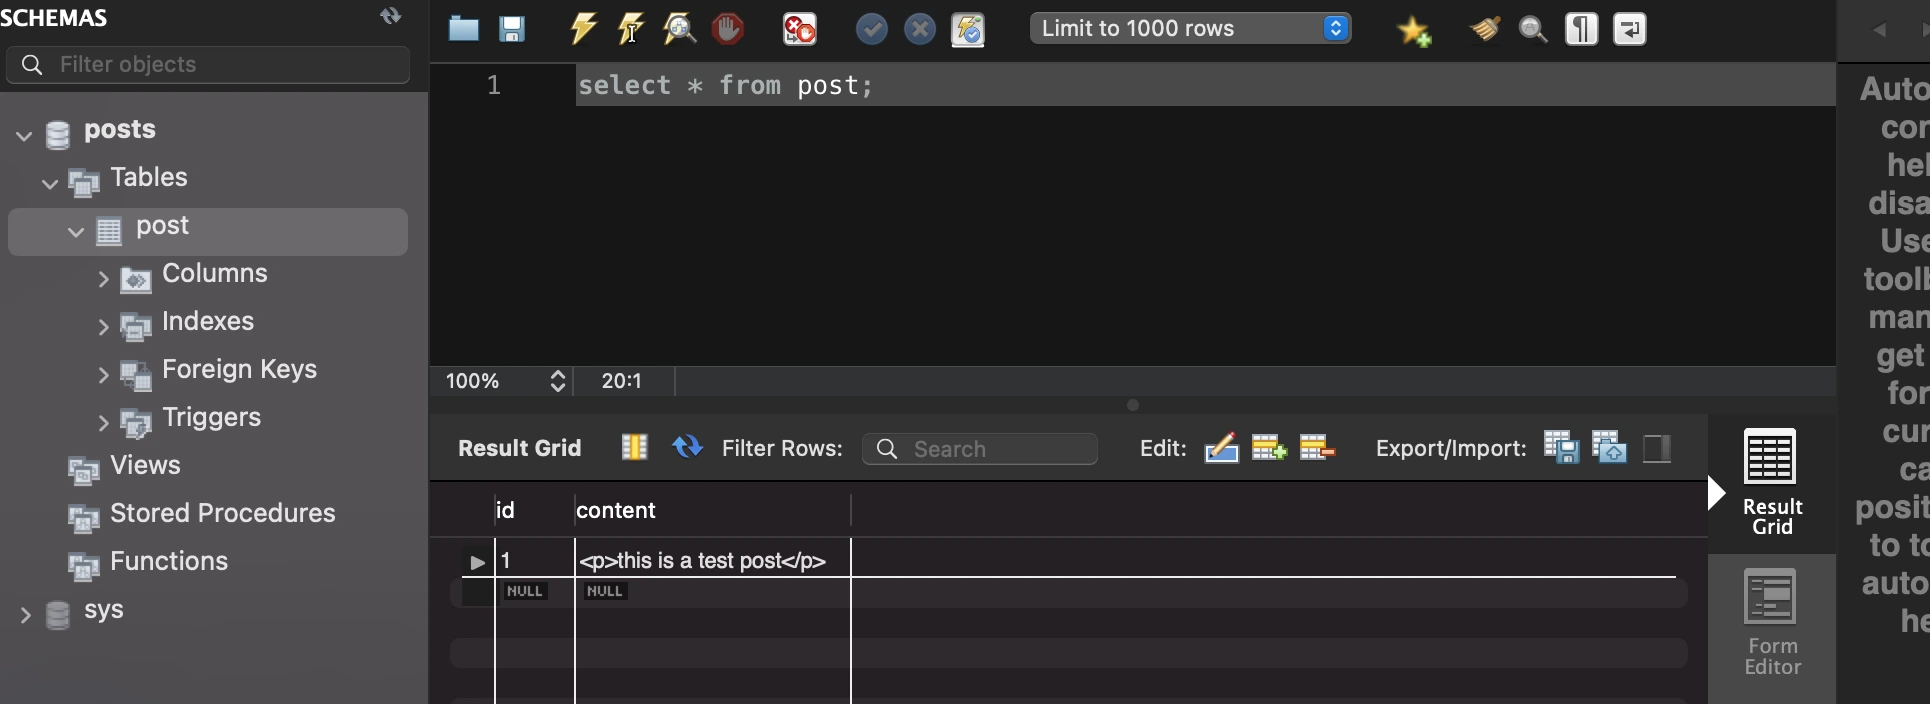
Here are the results :
The post to be sent :
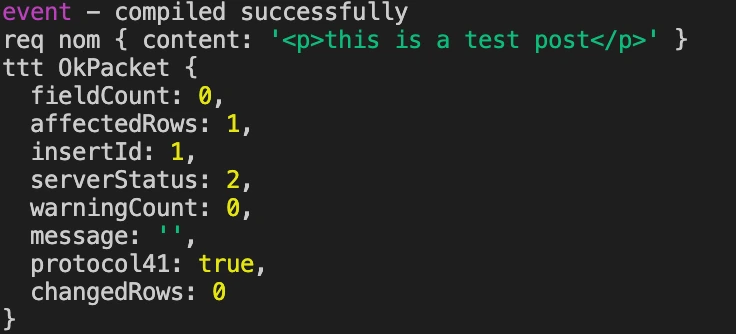
The request sent and the result :


